
Your Jet Ski isn’t just an object—it’s a lifestyle. And as
part of that lifestyle, you want it to look and function the way it should. If
you’re going to maintain your Jet Ski and keep it looking and performing its
best, you need to understand how to repair fiberglass and maintain it for the
future. That’s why we’ve put together this simple Jet Ski fiberglass repair
guide.
Understanding Jet Ski
Fiberglass
As the adage goes, “knowledge is power.” That’s the case
here. To effectively repair fiberglass, it helps to know a little about what
you’re dealing with. So what is fiberglass? Fiberglass is a strong composite
material used on objects like Jet Skis because of its durability and relative
ease of repair. If you have a ding or a dent in the fiberglass, it’s possible
to handle many of the repairs yourself and get it looking like new.
The challenge is knowing how to go about effective Jet Ski fiberglass
repair. That’s where the following information comes in handy:
- Cleaning
and drying are important. Clearing out debris will be vital as you work
with fiberglass. Make sure to do this step before anything else. This is a good
time to think about a generalized cleaner like Boat Cleaner. - Bonding
is key. Good adhesion to the fiberglass requires thorough bonding—and that
means spreading out the repairs to ensure good bonding. - Invest in
a fiberglass repair kit. It’s great to pick up individual parts when you
can, but a dedicated fiberglass repair kit can be a necessary purchase if
you’re tackling this for the first time and don’t know each individual
ingredient you’ll need. - Inspect
the area first. Generally, fiberglass damage falls into one of four
categories: tears, holes, damaged core materials, and complete layer
separation. The more serious the damage is, the more likely it is you might
have to contact a professional.
Handling Fiberglass
Repair Yourself
What are the key steps when you handle fiberglass repair
yourself? You should always take care to follow all instructions on the
products in which you invested, but here is a brief overview of what to expect:
- Preparing
your materials. You’ll want to “pre-cut” your fiberglass materials to
replace the damaged materials. Remember: “measure twice, cut once.” You might
also want to think about taping off other areas. - Measuring,
mixing, and applying resin. With the patching materials standing by and
already cut, it’s time to mix the resin. Take your time here and stay
careful—but remember that you’ll likely have a time limit as well, depending on what your product label says. - Apply the
fiberglass layers one at a time. Again be patient, working slowly and
carefully.
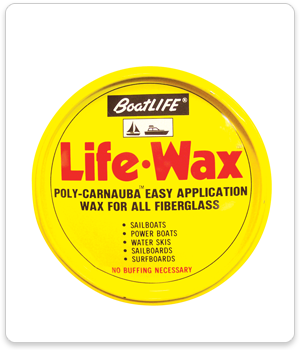
Once you’ve completed your individual fiberglass
instructions, you’re ready to let it cure. Once your new fiberglass has cured, don’t
forget to clean it and re-apply a product like Life Wax to
maintain the quality and sheen of your fiberglass for a long time.