


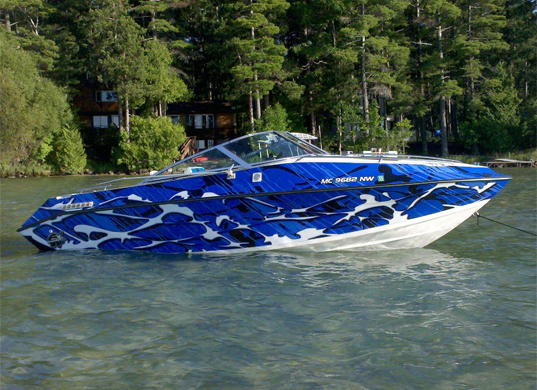
There may be no faster way to add some visual excitement to your boat than a decal. But that doesn’t that mean every decal will simply “snap on,” either. If you want to learn how to apply boat decals, follow these steps to get the job right the first time.
Get Your Boat Clean and Clear
 Applying a boat decal isn’t meant to cover up old problems. If there’s any debris, dirt, or staining where you’re installing the decal, they’re going to be locked in place. The best way to avoid any of this unpleasantness is simply to give your hull a good cleaning before you start. It’s not the most fun step on the list, but it’s essential if you want your decals to look pristine.
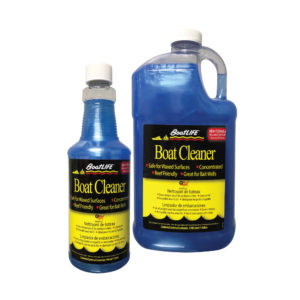
Use a boat-specific cleaner that’s easy on fiberglass, like Boat Cleaner. Give it a thorough rinsing—maybe even twice, to be sure—and then dry the area yourself with a fresh towel. You may even want to leave some time for an air dry, which is why it’s important to use a cleaner designed specifically for boat hulls. Otherwise, you run the risk of locking in streaks.
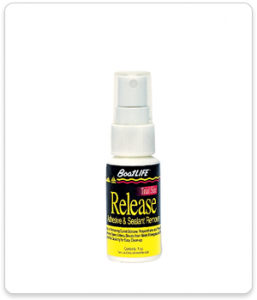
Getting rid of old decals? Then use Release Adhesive & Sealant Remover before this step to ensure you’re working with clear real estate.
Measure Twice, Apply Once
You know the old saying “measure twice, cut once”? That kind of thoroughness is just as necessary here. Once you apply the decal, it can be a pain to remove it and start the process all over again—assuming the decal isn’t damaged during the process.
That’s why it’s important to plan how your decal will look. Hold it up to the hull and see where it looks best. You might find that lining it up with the natural build of your boat is preferable to holding the decal up for perfect balance from the ground. The key: know what you want the boat to look like before you apply the decal.
Once you know where you want to put it, you might even think about putting up some painter’s tape outside of your spot so you know exactly where to line up the decal.
Apply the Decal
Using the instructions of your specific decal, hold it up to your predetermined position and apply it carefully. Don’t be afraid to take your time here. When it comes to how your boat looks, patience is a virtue.
You can make small adjustments as you apply the boat decal if you notice something is wrong, but you should have done enough planning to avoid any major improvisation. If you find yourself making major adjustments, back off for a moment and consider your options.
What to Do If You Make a Mistake
 What if you go through all three steps and still don’t like how your decal looks? If it’s a small issue, give it some time—you may find that you like the position of the decal the next time you look at your boat.
If there’s a major issue with placement, however, you’ll have to tread carefully. Return to Release Adhesive & Sealant Remover to slowly peel back your decal and clean out the area again for next time. It might not be quite as easy as using an eraser over an old mistake, but it’s a great option if something goes wrong with your decal.

