


What does a “new” boat look like? Perhaps the defining feature is a smooth sheen on its hull. For any boat owner, gelcoat blisters aren’t only an enemy for this look, but a sign that your gelcoat needs repairing as soon as possible. Here’s how to repair gelcoat blisters to keep your boat looking brand new!
BoatLIFE has everything you need to protect your hull from damage. Take a look at our cleaning and maintenance products to maintain that “new boat” look!
What Are Gelcoat Blisters?
Like anything else, you first have to understand what you’re dealing with before you can begin repairs. Gelcoat blisters form when water passes through the gelcoat. It then creates a chemical solution with the interior materials that keep it trapped inside. As you might imagine, the result is both unsightly and bad for your boat’s performance.
If you leave gelcoat blisters be, even more problems can develop over time. When left untreated, you may have to remove the entire gelcoat altogether. This is not only an expensive process, but it will cost you plenty of time as well. The best way to repair gelcoat blisters is to identify them when they’re still isolated.
How to Repair Gelcoat Blisters: A Brief Guide
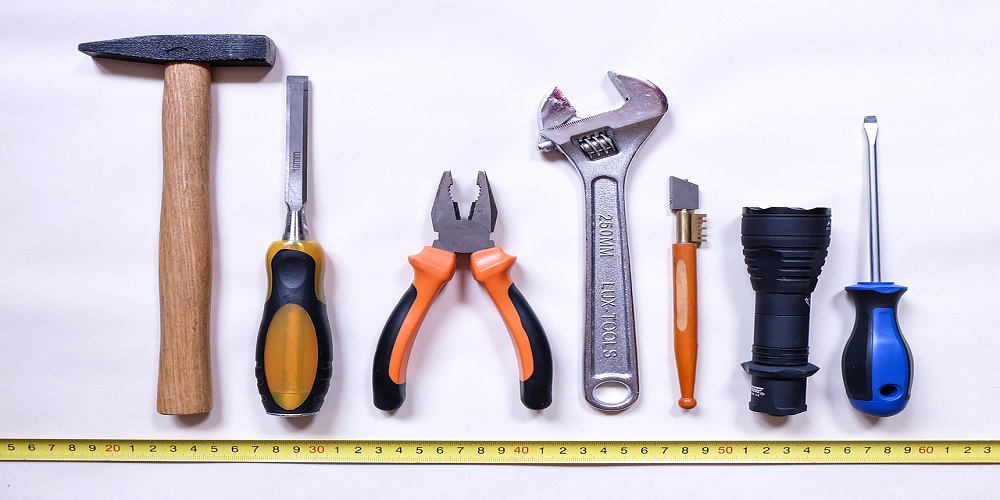
- Drain the blisters. When you have your boat out of the water, you can begin draining the blisters. To do this, you’ll need to use a hard tool like a screwdriver. Be careful that you have strict control over the tool you’re using, as you don’t want to scratch any of the surrounding area. In fact, if you put a layer of protective tape around the blistering, you’ll have an added margin of error. Wear safety goggles and gloves, just to be safe.
- Grind down the blister. After you drain the area affected by the solution of water and chemicals, you can then use a disk grinder to grind down the blister. Be careful not to go too deep to avoid moving into the healthy parts of the gelcoat.
- Diagnose the size of the blister. At this point, you’ll want to diagnose the size of the blister. Does it go deeper than you imagined? If you have something more substantial to repair, you may have to take extra steps to fix the blister.
Preventing the Accumulation of Blisters
Like most issues with your boat, you’ll make things easier for yourself if you’re careful to prevent the problem from forming in the first place. Here are a few tips for blister prevention:

- Keep the hull in good condition. That means keeping it both cleaned and waxed. Make sure that you apply LifeWax to your boat to protect the gelcoat from UV damage and other issues that pop up during regular boating use.
- Inspect your boat for blisters when it’s in dry dock. The smaller the blistering, the easier they are to repair. This isn’t a chore you want to put off—it only makes the repairs more extensive if you don’t take action immediately.
Protect Your Boat with BoatLIFE Products
Are you looking for more ways to protect your gelcoat and boat hull? Browse the cleaning and maintenance products available here at BoatLIFE. We’re here to help your boat maintain its brand new look! Check out our inventory today.
![]()

