Caulking is familiar to many Americans—but when it comes to
caulking something more challenging, like a boat, it seems like the rules go
out the window. How do you properly caulk and repair something that makes
regular contact with water? How do the rules change? Don’t sweat it. We have a
few tips for you on how to caulk a boat!
Tip #1: Forget About The
Water For Now
A proper caulk seal on your boat will help keep out water
and prevent damage. You might be surprised to discover that with the right
materials, caulking a boat can be strikingly similar to caulking your home, for
example.
But you do have to foster a dry environment before you
begin. Bring the boat out of the water and make sure it’s thoroughly cleaned
and dried before you start the caulking. This seems like a minor
step—especially waiting for the drying—but it will be integral to a smooth
caulking experience.
Tip #2: Remove Old
Caulking Or Debris

A fresh caulking seal starts with getting rid of any debris
or old caulking in the way. Use boat-friendly tools that won’t scratch the
seams or hull. It’s okay to take your time on this part of the project: the
goal is to clear the area without damaging the materials underneath.
If there are particularly troublesome adhesives
in the way, use a product like Release
to carefully remove it. Spray liberally if you’re peeling off an old adhesive.
Going slow here will ensure a more complete and thorough job.
Tip #3: Tape Off Your
Borders
At this point, you might think of caulking a bit like
painting—you’ll want to apply tape to the areas you definitely don’t want to caulk or seal. Masking
tape might work here, but purchase specialty tape if you’re worried about doing
damage to anything underlying.
Tip #4: Cut The Tip
Appropriately
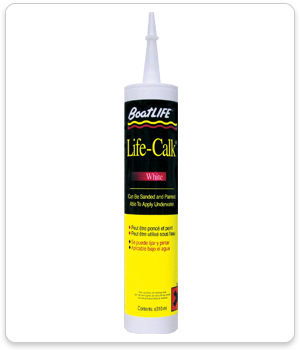
The tip of your Life-Calk Cartridge,
for example, should cater to the job you need to accomplish here. Some boaters
recommend cutting the tip at a 45-degree angle to give both a consistent and
“injecting” application of caulking. While this step isn’t always
necessary—depending on what you’re working on—you’ll want to consider doing
this before application. Inspect the area before you caulk to confirm your
approach.
Finally, make sure you always work with the appropriate caulks and sealants
before you start the boat caulking process. Doing so will help ensure a smooth
cure and quality adhesion that lasts.