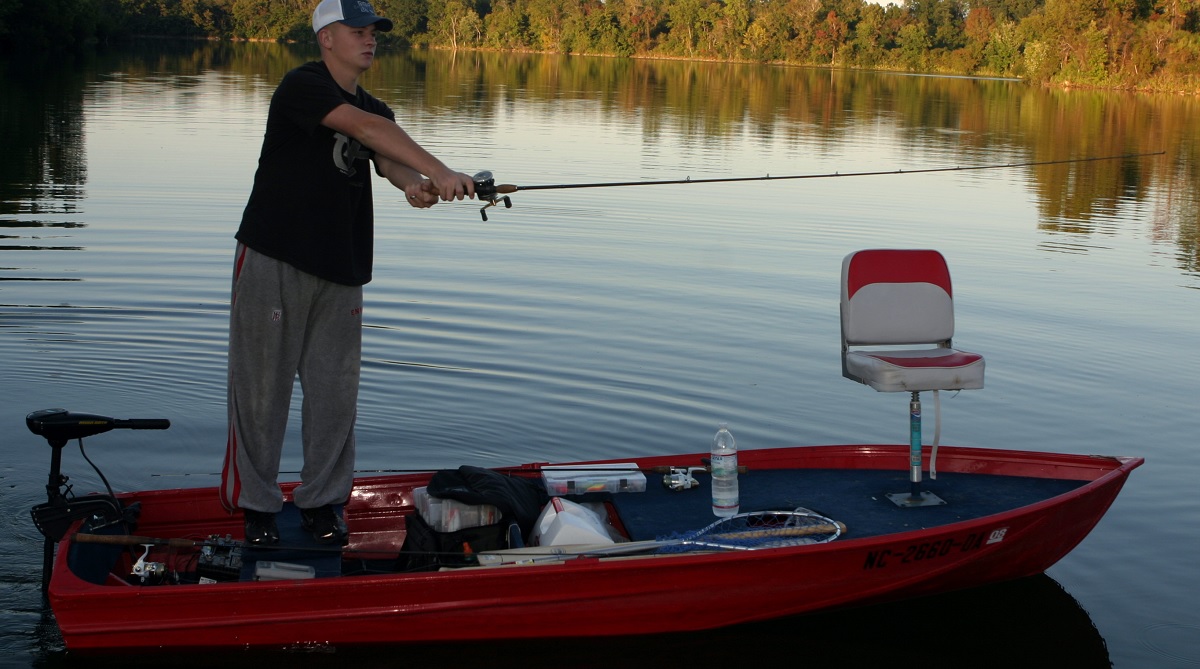
An aluminum boat is a clean, effective way to enjoy the open
water. But the quality of your aluminum is obvious to anyone looking at
it—especially if there’s an issue. That’s why you’ll have to know how to seal
an aluminum boat by using the right techniques and a few helpful products along
the way.
Inspection
The first step in ensuring you seal an aluminum boat properly is to be sure you understand the full context for
what your boat needs. Aluminum is constructed with seams and rivets, which may
be prone to leaking if they get loose. If you’re aware of a leak but aren’t
sure about its source, get the boat dry and watch for any leaks, paying special
attention to the areas of seams and rivets. These are your primary suspects for
leaks that you may need to seal.
That doesn’t mean, however, that every leak will start at
these sources. Make sure to give your entire boat a look-over and double-check
before proceeding.
Prep The Area
What happens when you’ve identified a leak? It’s time to
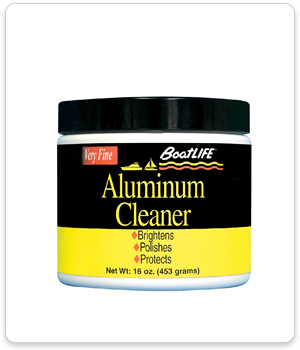
prepare the area. Use a dedicated Aluminum Boat Cleaner
to ensure that you get the highest quality of clean while also protecting the
metal itself. Give the area enough time to dry out so that you can work with a
smooth, clean surface without any interference from lingering water.
Sealing Your Boat
With the aluminum adequately prepared, you’re ready to move
on to the next step: sealing an aluminum boat. Here’s what you’ll need to know:
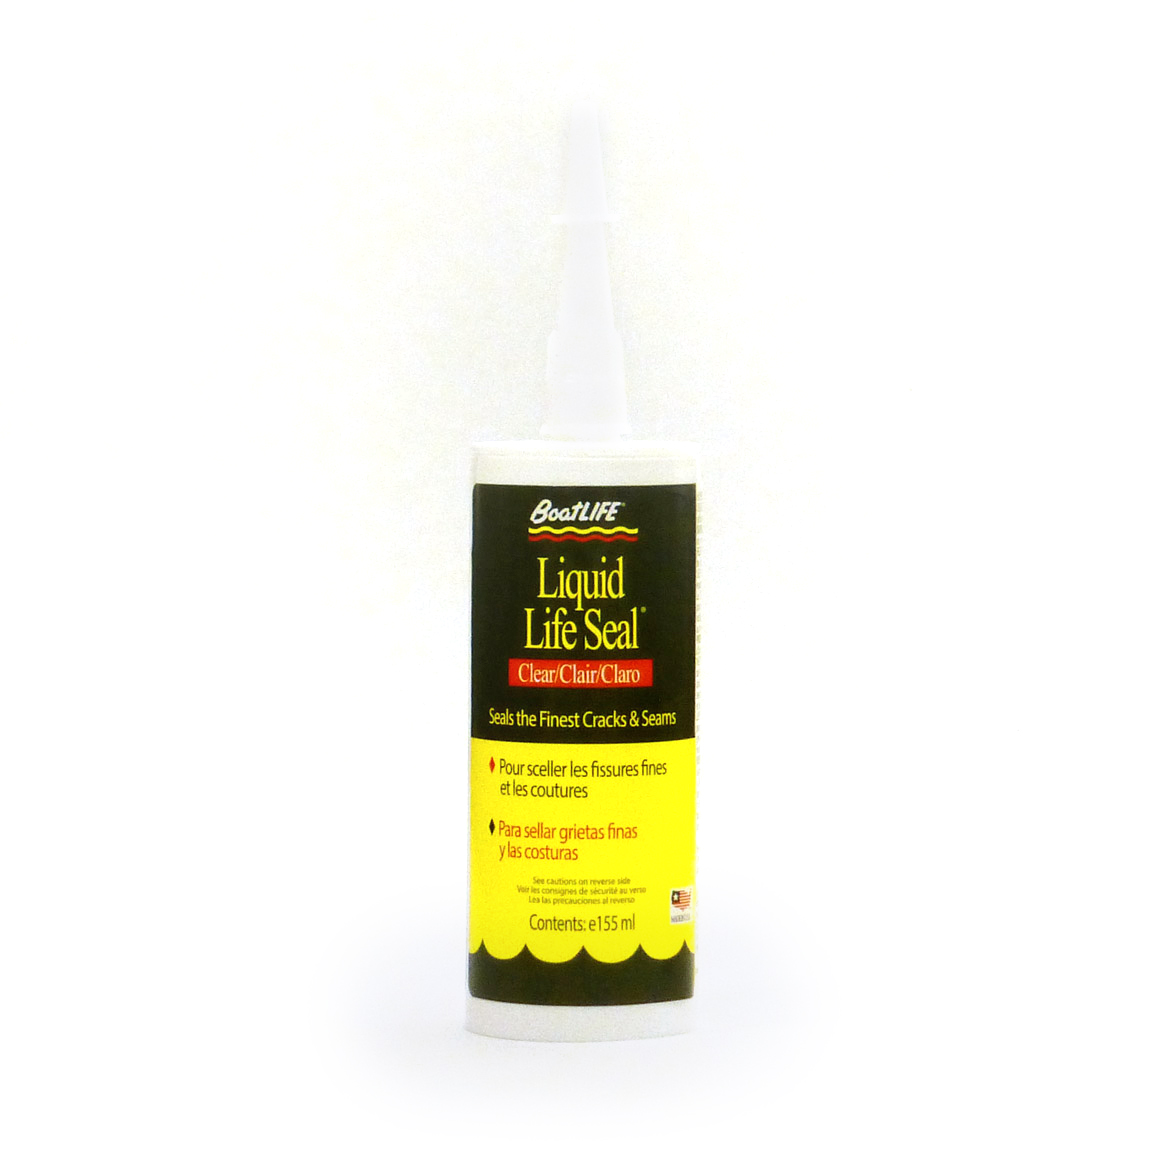
- Choose the
right sealant for your boat material. When working directly with aluminum,
you’ll want a sealant specifically designed to adhere to metal. At the very
least, the label should let you know that the sealant adheres to metals. For
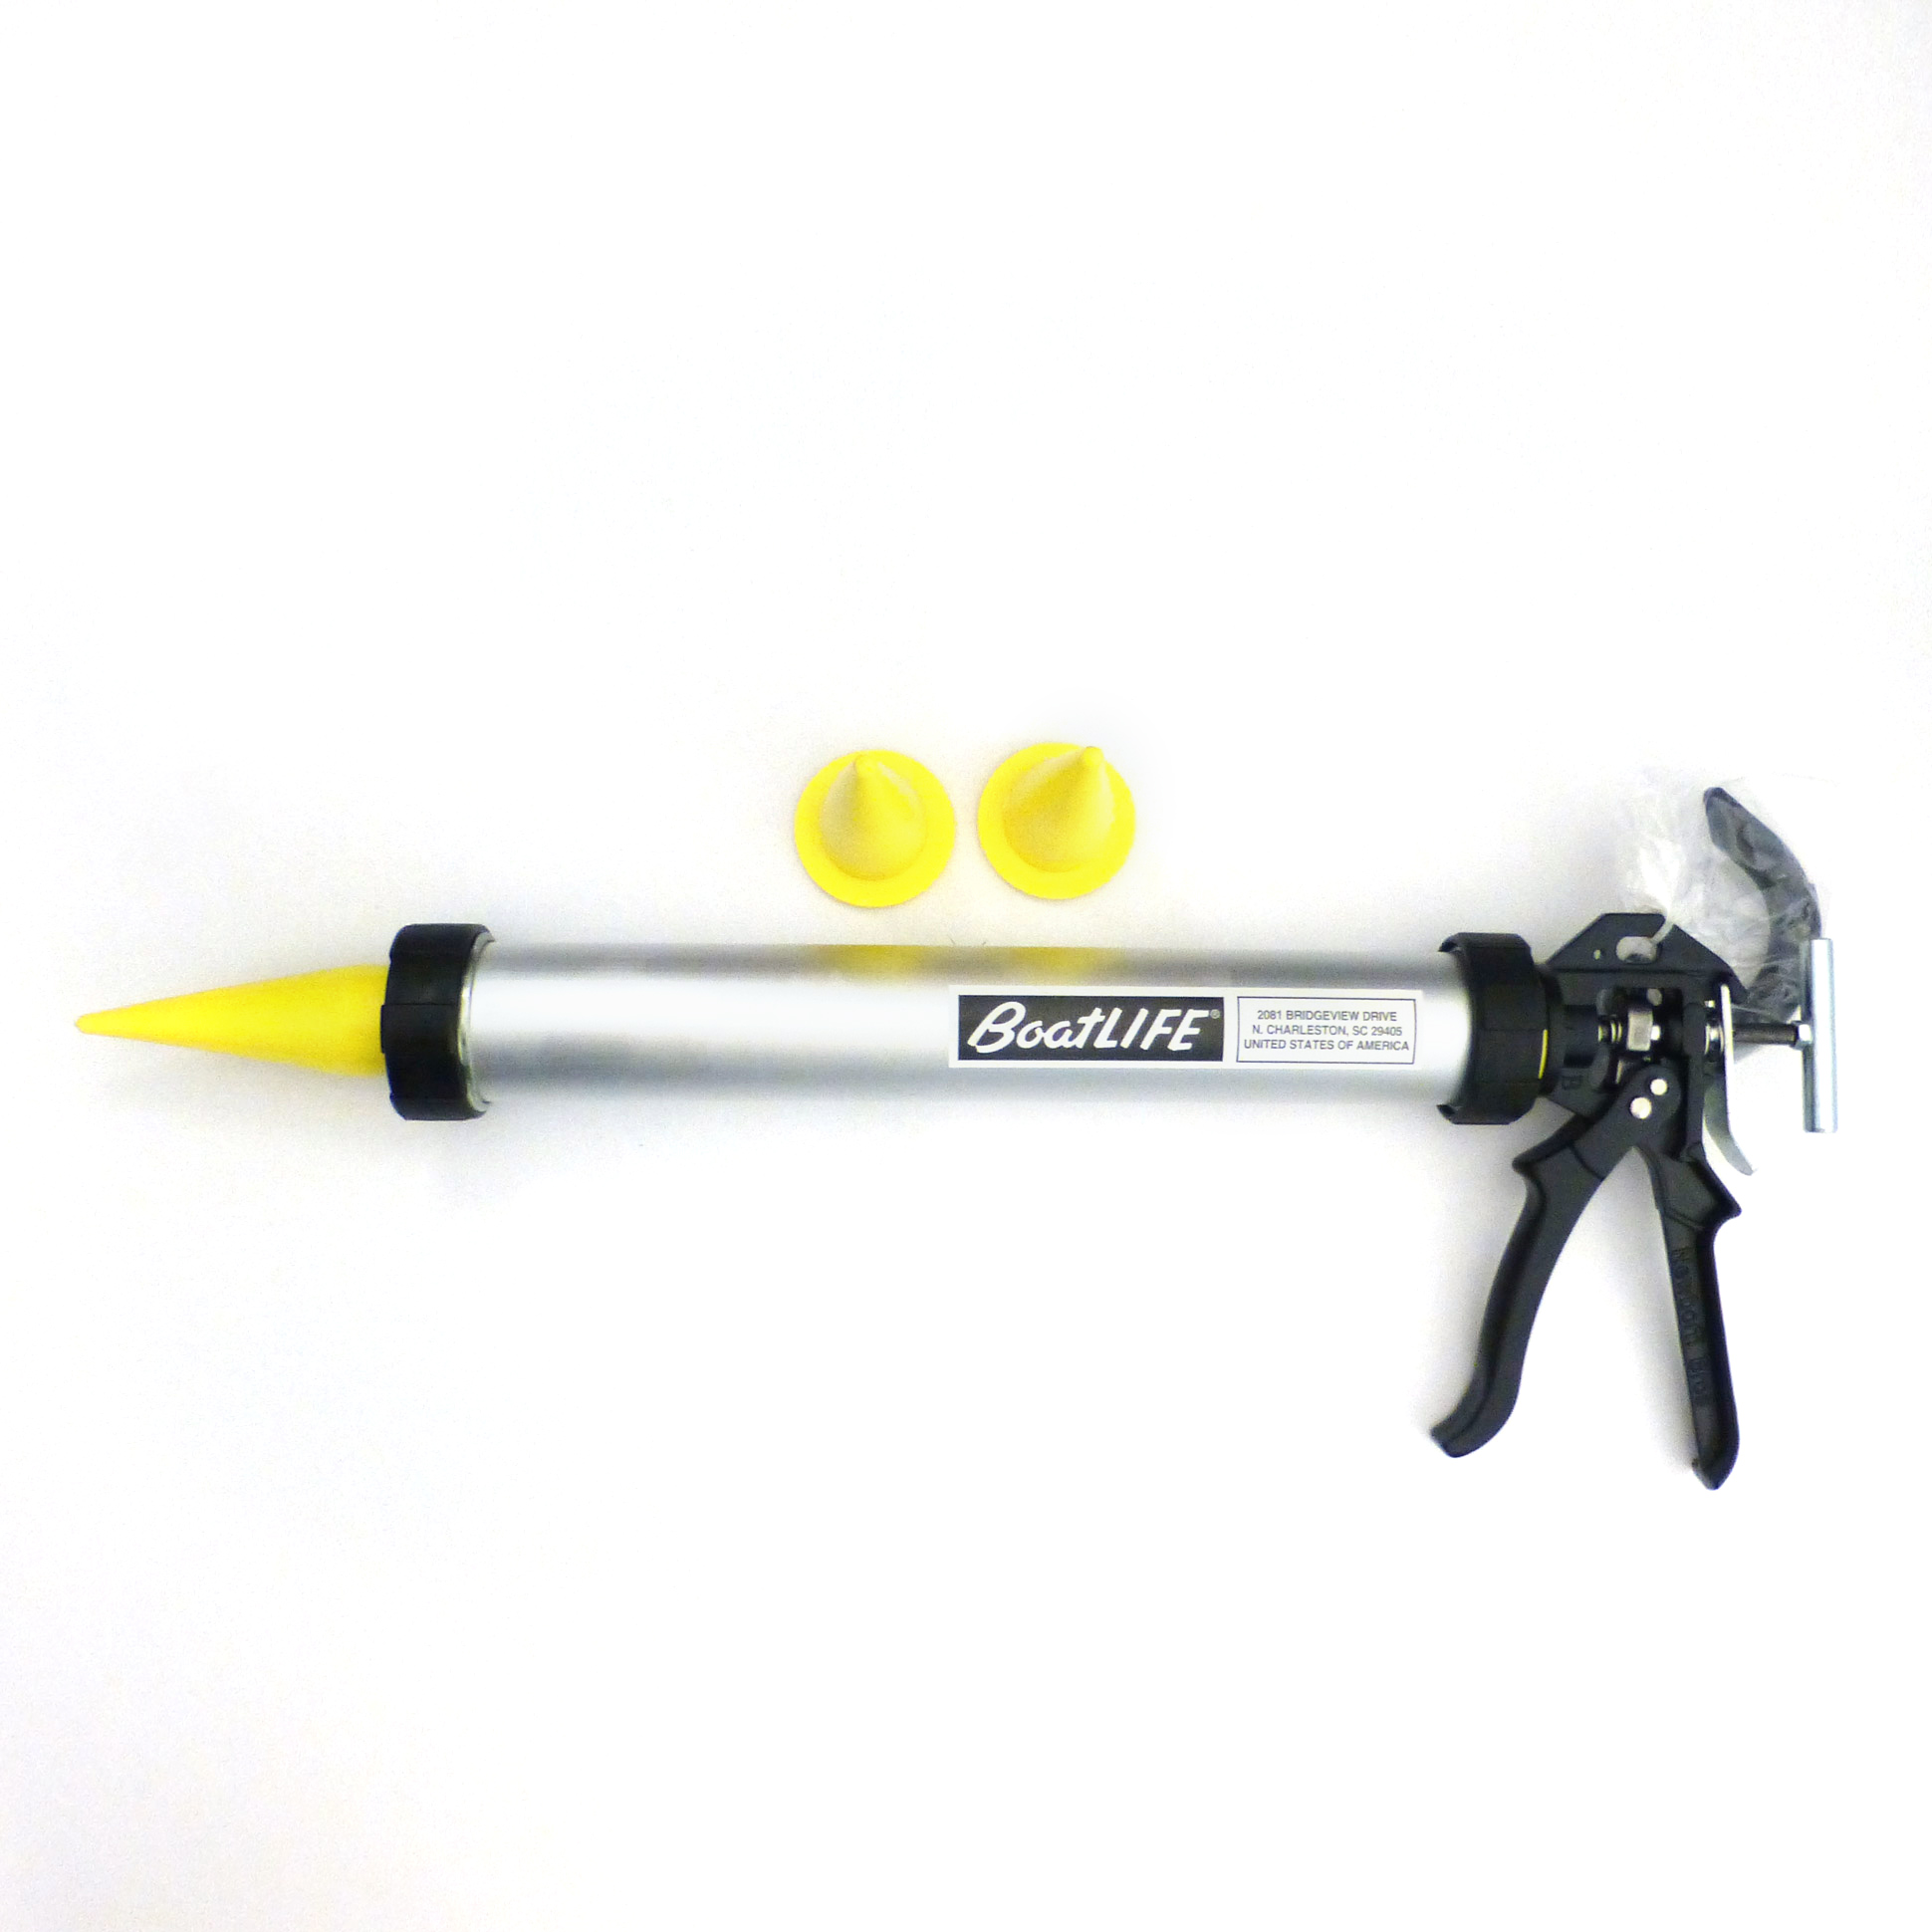
example, a cartridge of Life-Calk
will seal to metals, and the acid-free formula of Silicone
Rubber Sealant won’t corrode metal. Stick with the Silicone Rubber
Sealant to ensure that your metal is well protected. After all, you want to get
the full life from your boat. 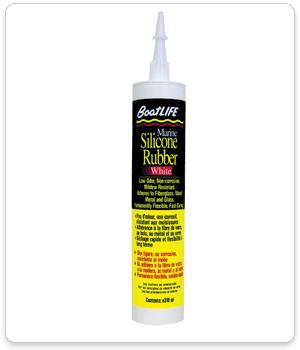 Apply the
sealant, and don’t be afraid to be generous. It’s better to over-seal than under-seal,
as you can always go back over the area you’ve sealed and scrape off excess
sealant. If you under-seal, however, you may find yourself having to start all
over. In some cases, that may mean you have to remove the old sealant, although
some products will be able to adhere to themselves. Make sure you always read
the label to understand which product you’re working with. A few seconds of
reading the label could spare you hours of manual labor.
Follow the directions of your boat sealant to ensure a
proper cure. This often requires keeping the boat in a stable place to cure
overnight. After that, you should inspect the seal and test to see if it’s
waterproof.
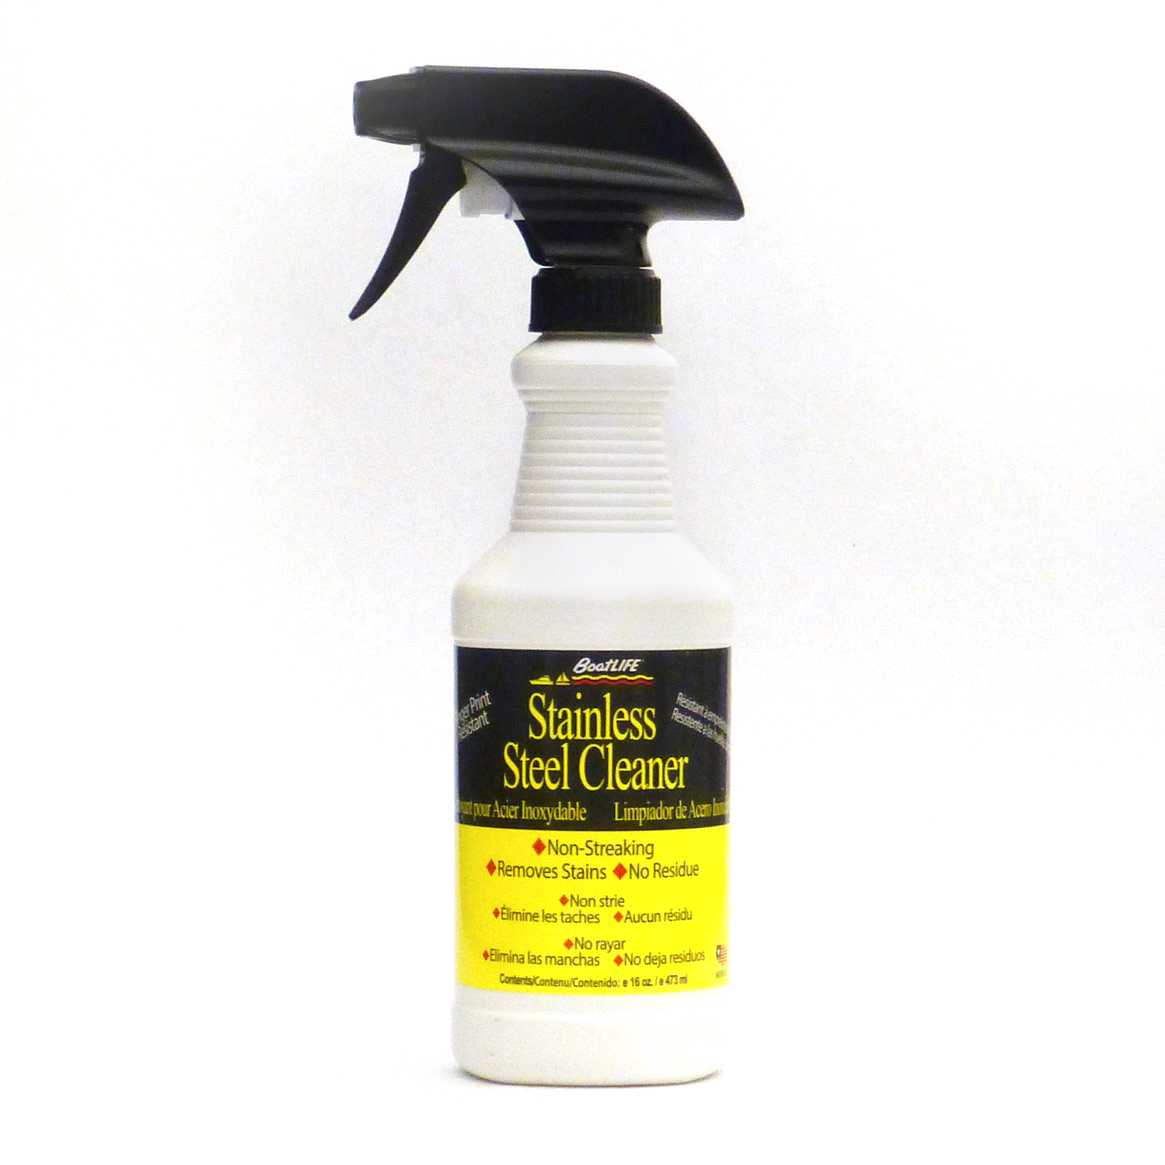
Need more aluminum boat care products to help
sustain your boating lifestyle? Keep browsing everything available here at
BoatLIFE.


