There’s an old phrase in the automotive industry—“where the rubber meets the road.” In the world of boating, there’s no more important part of your boat to clean and properly maintain than the hull itself. It’s where the boat meets the water. But it’s not just that: the way your hull looks will impact the way your entire boat looks.
But how should you actually treat your boat’s hull to get the most out of your cleaning and washing sessions? What can you do that will lead to a new-looking, long-lasting hull finish you can be proud to take out on the water? Here’s a five-step guide for your next hull cleaning that will maximize your chances at taking an old boat hull and having it so clean it looks new:
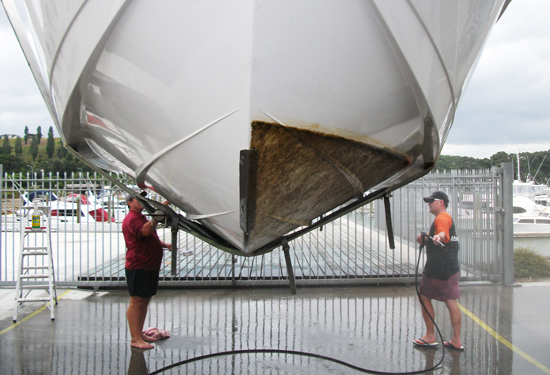
Step 1: Pull the boat out of the water. Many people—especially new boat owners—ignore just how important this part of the process is. Cleaning your boat with fresh water is important, but so is the fact that you can keep cleaning chemicals out of your local wildlife by cleaning your boat once it’s on dry land. Look for local marinas that offer boat cleaning areas—otherwise, depending on your logistics, you may be able to wash your boat on your own driveway.
Why pull the boat out of the water? For starters, it’s the only way to access the entire hull. What’s more, you can use cleaning chemicals and solvents that you wouldn’t be able to use in a lake, stream, or river. It also gives you an opportunity to let the hull dry if need be.
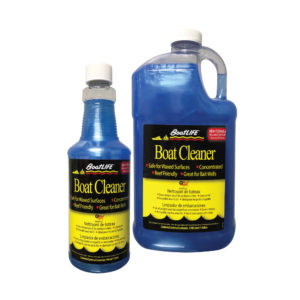 Step 2: Clean debris, scum, and other staining. Remove any debris that may be stuck to your boat before you begin, and then proceed to clean debris, scum, and anything else that didn’t come with your boat purchase off of your hull. What solvents and cleaners you use at this point are up to you, but you may want to research a little to find the right match, especially if your boat hull contains graphics in need of protection. Start by washing the hull clean of any major debris, and then go in for a finer wash once the excess debris is cleared away.
Step 3: Rinse. Rinsing the boat off with fresh water won’t seem like it accomplishes much, but you’d be surprised at how important a step this is. Rinsing clears away any excess chemicals or solvents left over from cleaning and ensures an even cleaning of the boat, which is essential to making your hull look new again.
Step 4: Dry. Like the rinsing phase, it won’t seem like you’re accomplishing much by taking some time to let your water dry off your boat, but it’s a necessary step to set up the final sealing of your new, clean hull.
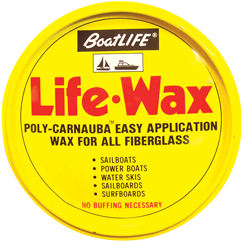 Step 5: Wax. To ensure that your boat has an enduring, lasting finish, you should wax it once it’s ready and clean. Waxing can help prevent UV damage as well as lock out any scum and debris that will form as you begin to take your boat out on the water again. Let the wax settle and you’ll then have a boat hull that’s clean, sturdy, and ready to take on the challenges of the water.