There’s nothing more worrying to a boat owner than the hull losing its color to oxidation, sun fading or staining. When a simple wash won’t redeem the quality of your boat’s coat, it’s tempting to view it as a total loss. Without replacement, you figure, your boat is permanently stuck with this damage. But this isn’t always the case. With some know-how, boat clear coat restoration is something you may be surprised to find that you can handle on your own. Here’s what you need to know.
Step One: Clean The Boat
 The first thing you need to do is remove your boat from the water and get it some place where you’ll have full access to the hull in a safe, well-ventilated area.
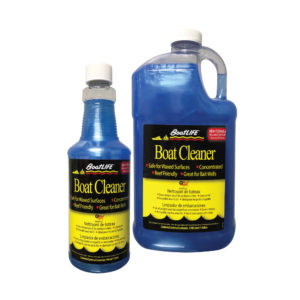
When many boat owners hear this is the first step, their first instinct is to think that the boat will need a complete re-painting. But there’s a better way. Start with a cleaning of the boat using a boat-friendly cleaner like Boat Cleaner, which can be mixed with water to provide greater coverage. This will help get rid of any superficial stains as well as debris that might be locked onto the boat hull.
At this stage, you might also consider using a scrub such as a boat-scrubbing mitt to work the surface of your boat hull as thoroughly as possible. This helps remove surface grime that may have been left over after the cleaning.
Step Two: Sanding
After a thorough rinsing, many boat owners recommend using a fine-grit sandpaper without too much pressure. This will help get rid of the problems at the outer level. Since there’s a lot to cover, you can work in sections and take a lot of breaks throughout the process—otherwise, it can get quite tiring.
What does this accomplish? You’re getting rid of the old clear coat, while hopefully doing no damage to the underlying paint and hull. While this seems tricky, you’ll likely have no problem getting in between the two if you’re working with the right materials—especially a fine-grit sandpaper.
Step Three: Apply the New Clear Coat
Once the boat is rinsed and dried, you can then tape off all the areas that won’t receive the new clear coat. This is a process that’s a lot like painting—you don’t want the clear coat to get into sensitive areas on the boat and corners where it doesn’t otherwise belong.
With a tarp under your boat to catch any leavings, you can then apply the clear coat with a brush, working from top to bottom as you move the brush side to side. You can be patient here—you want a smooth, even application of the clear coat so that it will perform as consistently as possible.
Stock Up With The Right Tools
Want more boat restoration tools to help you keep your boat looking in top shape? Explore all of our boat cleaning and maintenance products at BoatLIFE.