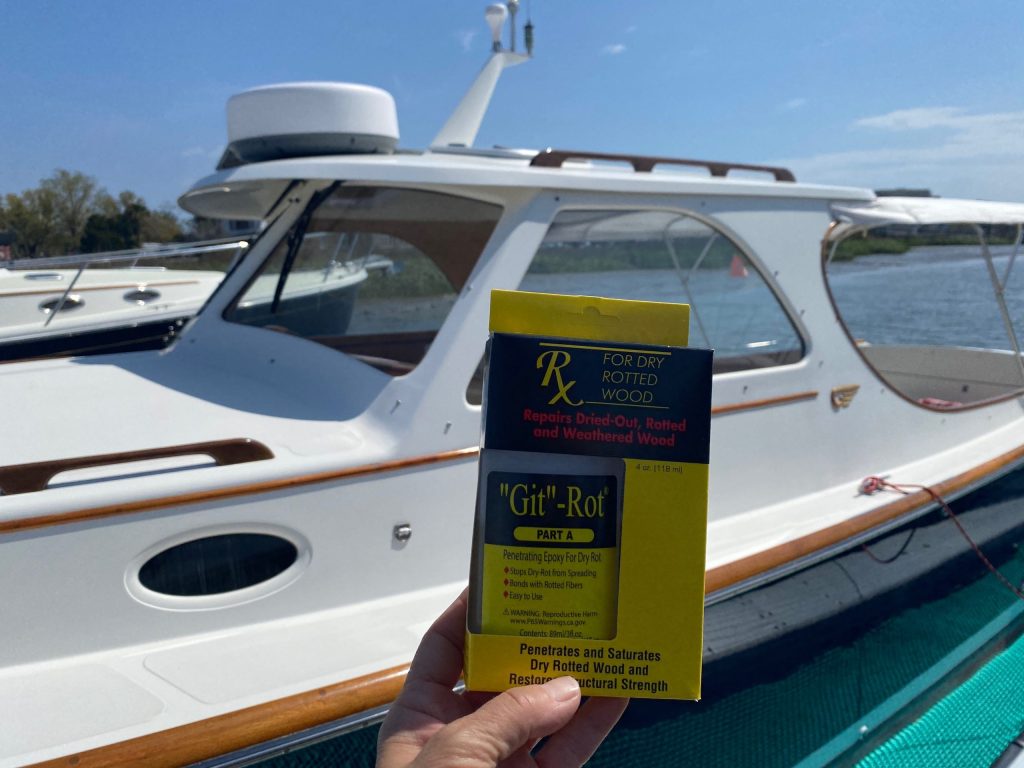
Dry rot can ruin anyone’s day, especially when it comes to boat restoration. Luckily, there is a solution to repair the original strength of wood using BoatLIFE’s unique two-part liquid epoxy “Git”-Rot®. It’s an inventive boat repair product that actually works with the loose, rotted fibers. “Git”-Rot soaks into the wood and cures to a sandable, paintable, and workable surface overnight. Great for wooden boat repairs, transoms, stringers, decks, and cabin roof rot in fiberglass and wood boats, read on to learn all about “Git”-Rot®!
Identify dry rot
The first step in the process of repairing wood rot is to locate and identify dry rot. This can be achieved by tapping on the areas with a hard instrument and listening for hollow sounding dead spots. Next, use an ice pick or a sharp knife to jab at the areas to confirm that it is indeed dry rot. Be sure to check areas where water is likely to accumulate, like spar checks, hatches, deck seams, transom, companion slides, check in planking, toe rails, any exposed end grain, stem, ribs, stringers, and window frames.
Next, once you’ve identified the rotted areas, you’ll need the appropriate amount of “Git”-Rot, which will require a volume of approximately equal to half of the volume of the dry rotted wood.
Applying “Git”-Rot
It is important to note that “Git”-Rot has an optimal temperature range in which it can be applied (50° to 70° Fahrenheit or 10° to 21° Celsius). When working with “Git”-Rot, it is critical to only mix the epoxy in small batches of no more than 4 oz, which will prevent a hotter reaction and a faster cure.
After adding 1 part “B” to 3 parts of “A”, shake vigorously for at least one (1) full minute. It is best to use a watch to time yourself for exactly one minute. Once the two parts have been thoroughly mixed, a thermal reaction will begin to occur. This is the best time to penetrate the rot by injecting the epoxy into the end grain. To avoid trapping air in the middle of the rot, always start at one end or on one surface. Then, work progressively along until the entire rotted surface is filled. You want to completely saturate the wood, so it may require time and a great deal of patience. The surface will be completely penetrated when the reservoir holes remain filled and there is a shine on the top.
Final notes
In order for “Git”-Rot to work properly, the rotted surface must be completely dry to start. Keep in mind that wet wood cannot be fully saturated. Soaking wet rotted wood with acetone will assist in the drying process. However, this may pose a fire hazard and the reaction between parts A and B will produce heat. This is why “Git”-Rot should never be used in high temperatures and external heat sources should be avoided.
For deeply rotted surfaces, it is advisable to drill staggered holes approximately ¼” in diameter, 2” apart, slanting downwards, and then fill. In areas where sections of rot contain extensive holes where the wood fibers are actually missing, mix sawdust with “Git”-Rot and use it as a fill material after treating the area.
“Git”-Rot must be used exactly as stated by the manufacturer, and is one of the best boat accessories. Any reduction in the amount used will reduce its overall strength.
Stay tuned for more blog posts on Life Industries tips and tricks for using “Git”-Rot to repair any wood rot!