

Caulking and sealing are two of the most vital things any handy person can learn. When it comes to a vehicle that moves on water, it’s even more important. A proper caulking job will keep a boat well-protected and sealed, which in turn means more life for your investment. A proper caulking job will mean your boat looks better, too. That’s why we’ve put together a few of our favorite tips and recommendations for caulking boat seams the right way.
Clear Out Old Caulk The Proper Way
When caulking a boat seam, you don’t want to simply put a new layer of caulk on the old layer. You want a proper seal, which means removing the old caulk first. Boating Magazine recommends using a reefing tool or a reefing hook to get rid of the old caulk. This frees up the space for new adhesion, which in turn means a better overall application. It might seem like an extra step, but in the long-run, it will be much better for your boat.
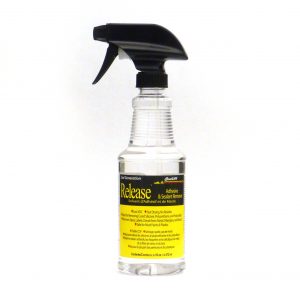
Remove Sealant Too

Find The Right Balance Of Application & Movement
The actual process of caulking boat seams can be a bit like a dance. You don’t want to go too fast, or else you’ll leave too little caulk. You don’t want to go too slowly, or you’ll leave too much. The importance here is to get a feel for how quickly the caulk flows out, which is why it’s good to test on another surface (which you don’t mind caulking) beforehand. This will give you a sense of the caulking speed, which in turn teaches you the right way to apply. Do your best to remain smooth and consistent at this stage.
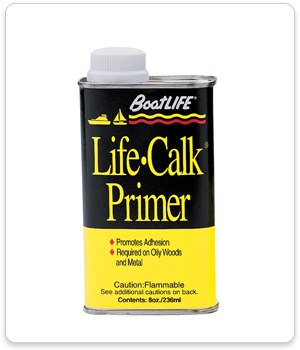
Don’t Forget The Primer

Buy High Quality Marine Caulks & Sealants
One final tip on caulking boat seams: make sure you use the boat caulks and sealants specific to your material and boating needs. This means you shouldn’t simply find any caulk you can grab and apply it to your boat. Do a little research, understand your materials, and your boat’s caulking will be vastly improved.


