A leaking deck is every boat owner’s worst nightmare. If you’ve identified that a deck leak is coming through a piece of hardware like a loose handrail or cleat, then the process of rebedding it needs to not only fix the problem, but improve the bedding. BoatLIFE products are a great way to ensure a proper seal when rebedding deck hardware. Browse through our selection today.
Identifying the Leak

Fixing your deck’s leaks may be as simple as rebedding its hardware. Some of the most susceptible hardware includes:
- Handrails
- Cleats
- Lights
- Deck fills
- Antenna mounts
Rebedding Deck Hardware: The Essential Steps

With leaking fittings, you’ll be tempted to seal it off without actually removing the hardware. Avoid this temptation! You never know what kind of leaks are going on inside the fitting—and if you only treat the symptom, your boat will be worse off for it. Here are the essential steps to rebed your deck hardware properly: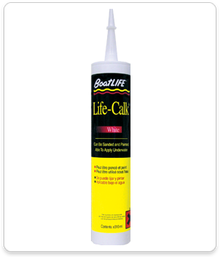
- Unscrew/unbolt the fitting. After this point, newer fittings should come off easily. Older fittings may have some rust on them, which would require using a putty knife to get leverage and separate the fitting from the boat. Be careful not to damage the boat here.
- Clean the area. There will likely be old sealants/compounds already in place. Use a solvent like BoatLIFE’s Solvent & Cleaner to get rid of the debris. Removing these will be essential to installing a more comprehensive sealant to prevent future leaks. After you’ve cleaned the debris, thoroughly dry the area.
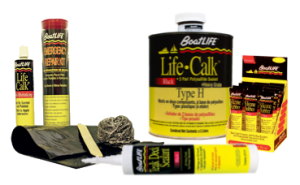
- Apply your sealant. BoatUS recommends using BoatLIFE’s polysulfide sealant, such as Life-Calk Sealant. This will cure to a flexible material that you can sand and paint, which gives you the option to apply cosmetic updates directly to the sealant itself. In addition to locking out the moisture causing the leak, it helps to update the look of your boat.
The last step can be a bit tricky. How do you apply the right amount of sealant? And how do you know when the cure is in place?
Applying Your BoatLIFE Sealant
Here’s exactly how you should apply the sealant: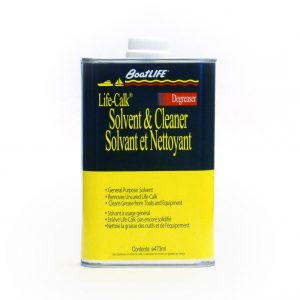
- Use painter’s tape to corner off the affected area. This will prevent you from getting excess sealant on areas that don’t need it. It’s not the end of the world if you don’t use this method, but it will help the appearance of your boat and keep you from doing extra work at the end.
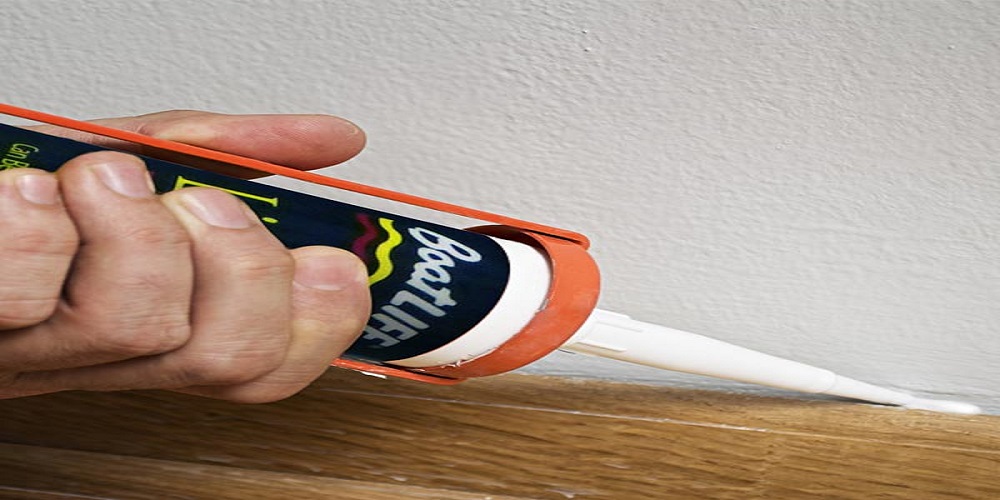
- Spread on the sealant. Apply it over the area where you’ll re-bed the hardware (such as a boat cleat). Aim for a smooth, consistent level of thickness so that the sealant doesn’t spread unevenly when you apply the cleat.
- Apply the cleat. Put the cleat back into place, screwing it in to secure it. There should be excess sealant—don’t worry, that’s normal.
- Get rid of the excess sealant. Start with your hardware, scraping off as much sealant as possible. Then use Life-Calk Solvent & Cleaner if there’s any remaining that you don’t want on the exterior. This is safe to use on fiberglass.
Once you’ve rebedded your deck hardware, you should notice that it functions like new!
Stock Up With BoatLIFE
Keep yourself ready for any deck hardware surprises with BoatLIFE products. Stock up on BoatLIFE Caulks and Sealants to tackle any leaks that come your way! We’re happy to help keep your boat in top shape.