


Never painted fiberglass before? You’re not alone. Many of us might be used to painting wood or drywall, but when you paint something like a boat, the process can seem a little intimidating. We hope this simple guide on how to prep a fiberglass boat for paint will make the task less intimidating and easier for you.
Step One: Know the Fiberglass First
Fiberglass and wood have very little in common—especially when it comes to painting a boat. The biggest difference here is the presence of a gelcoat on the fiberglass outside of the paint. This gel coat is there for protection against UV rays, marine life, and a range of other issues that boats run into. This means you can’t simply slap on a layer of primer and hope for the best. You’ll have to properly handle the fiberglass before painting.
Step Two: Remove Debris
 Prepping a fiberglass boat for paint starts with removing anything else that might be on the gelcoat that could get in the way, including:
- Old vinyl graphics and stripes
- Silicone or rubber caulking
- Anything in the way, such as removable lids
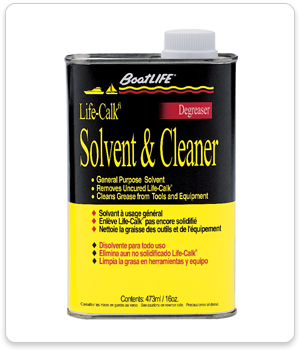
If you remove old graphics, for example, some recommend using a strong solvent-like acetone. But you can go for a safer option like Life-Calk® Solvent and Cleaner. If you have decals and stickers that will get in the way, don’t paint over them. Remove them with Release.
Make sure the area is clean and clear, even of adhesives, before moving on to the next steps. Wash the entire area you will be painting. We recommend Boat Cleaner for the job.
Step Three: Protect
If you’ve ever painted around an expensive piece of furniture, you know all about this step. You have to tape off the areas of the boat you don’t want to get painted with painter’s tape. Don’t forget any areas you might have forgotten about, such as a removable lid, as you tackle this part of the project.
Step Four: Removing The Gelcoat
Here’s where the difference between boats and drywall really makes itself known: you’ll want to power-sand down the gelcoat to remove it and get access to the fiberglass directly. Make sure to consult with an expert before you do this—orbital sanders are your best bet for making quick work of the hull. Be consistent with your approach and deliberately patient. And speaking of patience, you might have to sand down the gelcoat around awkward areas by hand.
Step Five: Wash It Down
Now that the gelcoat is removed, you’re exposing a part of the fiberglass that hopefully hasn’t been exposed to the air in a while. Give this a wash and make sure it’s properly dried before moving on to the next step.
Step Six: Apply The Primer
Using a primer built for fiberglass, apply your “pre-coat” so that the remaining coats of paint will securely adhere to the fiberglass surface. Make sure to follow the relevant instructions on the label.
Stock Up On Boat Maintenance Products 
And don’t forget to equip yourself for every step of the way with BoatLife products. You’ll make faster work of the fiberglass and will end up with a consistent, stable sheen when all is said and done!

