


Your boat bottom is looking a little rough—but it’s nothing
a fresh coat of paint won’t fix. But how do you even bottom paint a boat? We’ve
broken it down into a few key steps.
Clean & Sand Your
Boat

Before you begin, you’ll want to take the right steps to
adequately prep your boat.
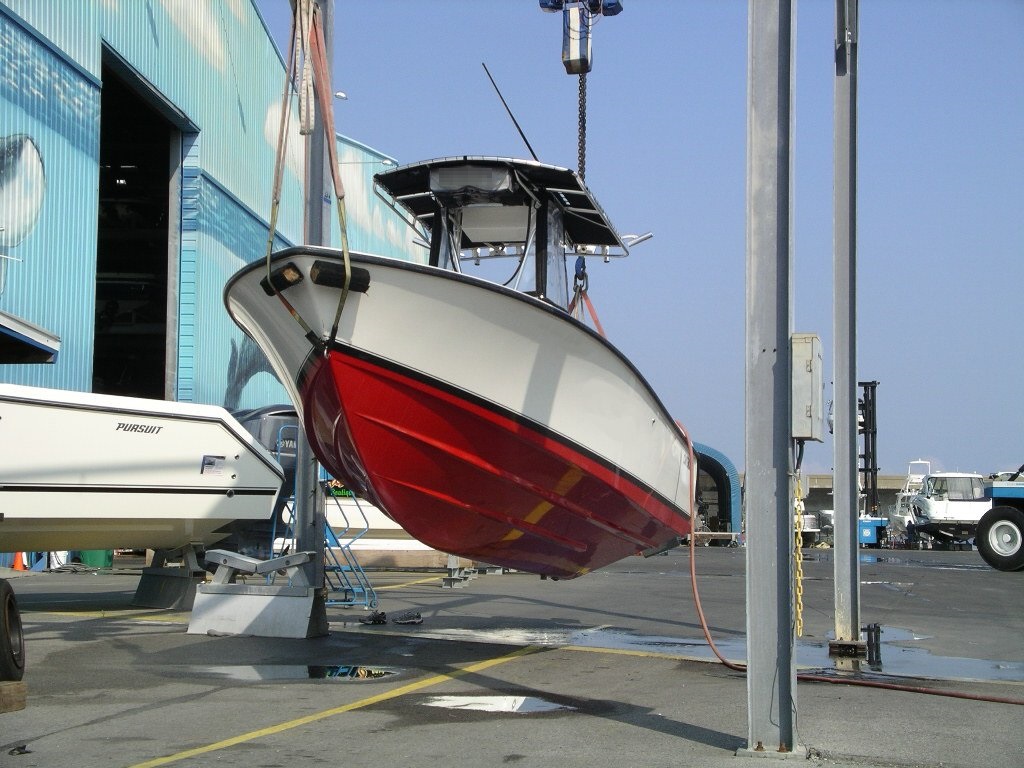
- Prop your
boat out of the water. You won’t get much done until your boat is clean and
dry and propped out of the water for easy bottom painting! Use the opportunity
to clean and rinse your boat as well so you can paint on a dry boat bottom
that’s clear of debris. (Use our boat cleaning
products to ensure your boat looks its best before painting). - Tape off
edges. Before sanding, make sure that you use painter tape to tape off the
gel coat areas of your boat hull. This is an extra step but ensures that the
sanding goes much more quickly and easily without doing any damage to the gel
coat. - For
sanding, use a power sander. Sanding by hand with this much area to work
with isn’t really an option. Make sure to wear a dust mask to avoid inhaling
anything that comes off during the sanding process. You may use manual sanding
to get the edges of the boat bottom, but generally you’ll want to stick to the
power sander for most of the heavy labor.
It’s important to sand carefully, making sure that you get
as much coverage of the boat bottom as possible. This will help ensure that you
get proper adhesion when you apply the paint.
Bottom Painting Your
Boat
Before you bottom paint a boat, clean off the sanded area and make sure that it has enough
time to dry. In some cases, boat owners do this across multiple days. Then
you’re ready to move to the next step: applying two coats of paint to ensure
proper coverage of the color of your choice.
- Use the
right equipment. Think gloves, a paint tray, tray liners, rollers, a
disposable “chip” brush, a head sock, and goggles—perhaps even a “painting
suit” if you’re especially worried about your protection. - Tape off
your boat for painting. Depending on your boat’s individual specifications,
you may have to remove the old tape you used to protect the gel coat and apply
new painter’s tape. Mask off the water line and you’re just about ready to
paint. - Apply the
coats of paint. You may do this across multiple days as well to ensure that
one coat dries before applying the second coat. Use your roller for the first
coat and apply the second coat with more precision to ensure that you have the
coverage you want. Once dried, you can remove the masking tape.
You can also use the time with your boat out of the water
and clean and dry to apply a coat of LifeWax. Having your
boat out of the water can be a major hassle, so make sure you use this time to
its fullest to care for your boat’s other needs.
Want more ways to properly maintain and clean your boat?
Continue browsing BoatLIFE for boat cleaning and sealing
products today.

