


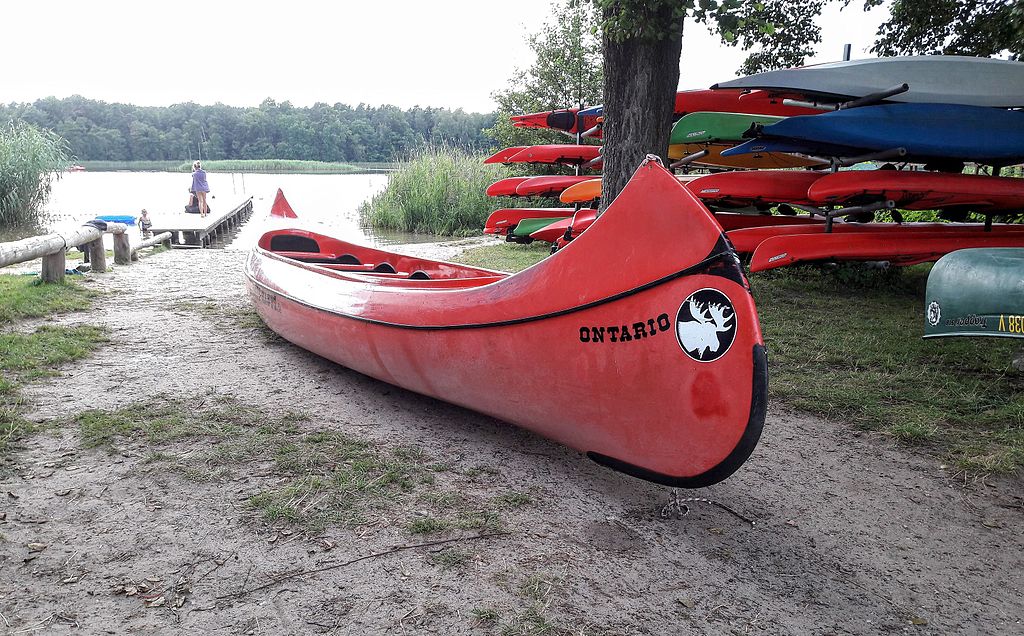
When you use a canoe, there’s very little material separating you from open water. That’s why even the smallest ding or crack can raise alarms. But repairing a fiberglass canoe can be much simpler than you think—particularly if you’re dealing with an issue of a clean crack. Although the typical repair process requires the affected area “getting worse before it gets better,” there’s no reason you can’t handle some home repairs to get your canoe ready for more action. Here’s what you’ll need to know when it comes to fiberglass canoe repair.
Proper Canoe Repair Inspection
It starts with diagnosis. Give your canoe a once-over to fully inspect the damage. Don’t be afraid to get up close to it, either. The goal here is to identify any spots you might have missed. Pull the canoe out of the water and look around the affected area, scrutinizing it for any additional holes or leaks that you might not have initially noticed.
Another key area to diagnose? Whether the extent of the damage goes completely through the fiberglass. Trails.com recommends cutting out fiberglass around the affected area when it is damaged to this extent, but if it isn’t—you may be able to get away without this step.
Treat the Surrounding Area
Get rid of excess fiberglass for serious fiberglass canoe repairs. You’ll then be able to begin dealing with the edges of the open fiberglass. That includes sanding and feathering. “Feathering” the edges of the fiberglass minimizes the “lap joints,” which helps create a solid integration between any new fiberglass and the existing fiberglass.
Fill the Fiberglass
Wrap plastic wrap around a piece of cardboard—large enough to fill the hole—and make sure that there isn’t any wrinkling or dimpling in the wrap. This creates a “depth” for the hole that you’ll then use to fill with fiberglass. Begin by cutting fresh fiberglass layers at progressively larger sizes in the shape of the hole—Trails.com recommends 5 layers for most canoes.
At this point, you should use an epoxy. Mix it according to the instructions on the label and remember that once you mix this epoxy, its effective time is relatively short, perhaps up to 30 minutes. Working quickly but carefully, cover the fiberglass layers with epoxy and lay each in, smallest piece first.
The last piece of fiberglass should be large enough to cover the affected area by more than an inch on every side. Apply it, along with the epoxy, and wait for the area to dry. Remove your cardboard piece.
Dealing with the Gel Coat
Once dry, you’re now ready to work on the gel coat. Remove the gel coat in the affected area—and perhaps up to around 2” around it. Sanding and feathering the coat, patch the entire area with another cut-out piece of fiberglass that will fit this entire area, 2” larger than the repair itself. Sand both the inside and outside of the affected area. Cover with gel coat and allow to set.
Sealing and Caulking Your Canoe
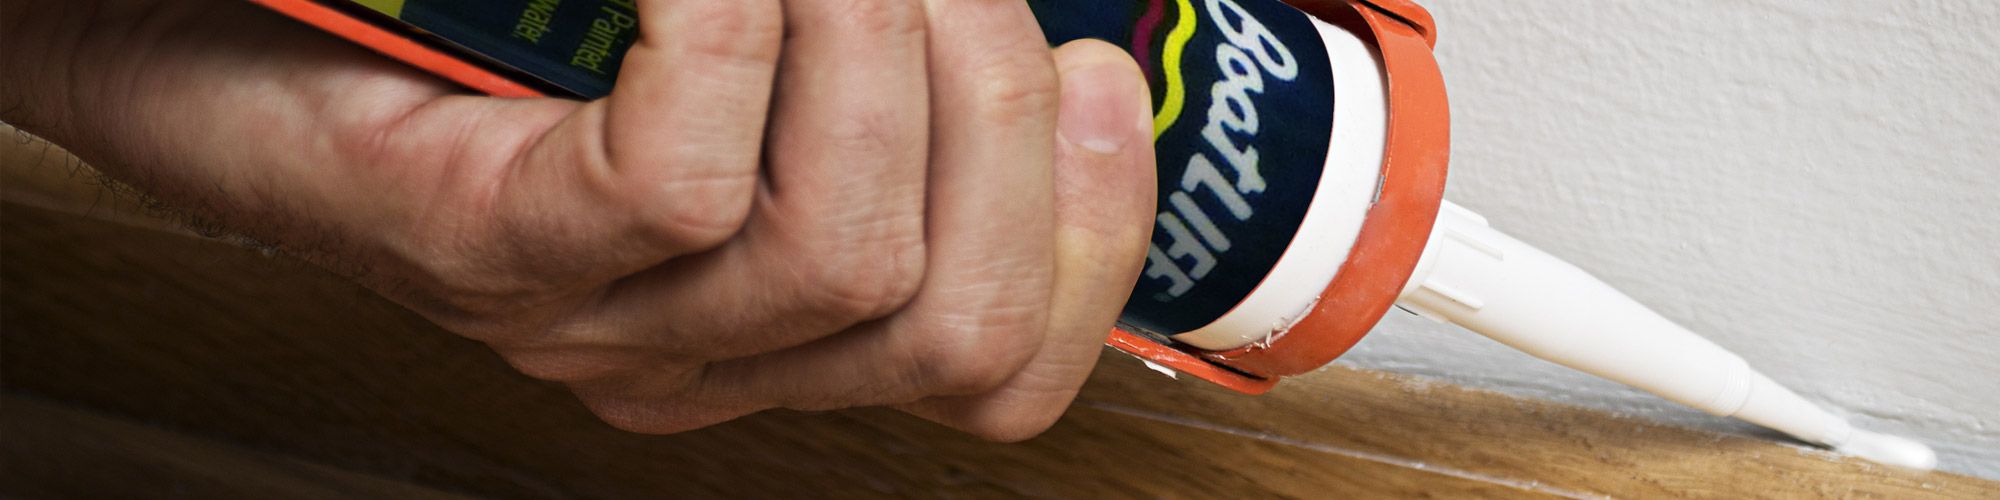
If you only need a minor fiberglass canoe repair, you may simply seal or caulk areas of your canoe to ensure it remains water-tight and ready for action. We recommend you visit our Caulks & Sealants page to purchase the specific ones you need. For example, Life-Calk sealant creates a cure that you can then sand and paint, giving your entire canoe a consistent look even after repairs.
Want more ways to keep your canoe in top shape? Browse through all the handy boating products available here at BoatLIFE.

