


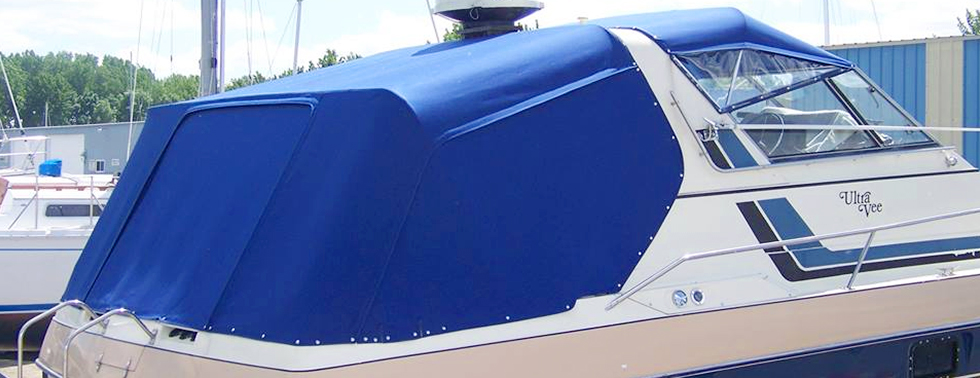
The marine canvas you use on your boat can be invaluable.
Not only will it protect you from the sun, but it can protect your boat when
you’re not around. That is, of course, unless the canvas itself is damaged. But
how do you repair something that’s supposed to protect the rest of your boat?
Here are a few boat canvas repair tips to help ensure your boat remains
protected from UV rays, precipitation, and debris.
Inspecting the Canvas
for Problems
Step one: identification. You need to properly diagnose any
potential problems before you move forward. If you can spot these problems
before small holes become large tears, you’ll be able to clean up problematic
areas with minimal damage to the look of your canvas. Here are a few tips for
discovering problems with your boat canvas:
- The “tug
test.” Tug on the fabric of your canvas to check for holes and overall
strength. Be hard on it! If you’re able to tear the canvas with the tug test,
then it was already too weak for proper protection. - Use
light. Sometimes it can be difficult to spot tears and holes, which is why
you’ll want to work in a well-lit area. You can even check the shadow cast by
your canvas to look for small holes you otherwise didn’t notice. - Look at
both sides. While you can identify many problems by looking at just one
side of the canvas, you’ll be far more comprehensive if you can look at both
sides. With canvas, problems can often start with one side of the fabric before
the fabric around it weakens.
To make your boat canvas repair inspection more convenient,
include it in your regular boat maintenance checklist. It shouldn’t add much
time to your routine. This small investment of time could yield significant
results in preventing bigger problems, helping to avoid the need to replace the
entire canvas.
Repairing Your Boat
Canvas
Most boating experts will tell you to “patch” your damaged
canvas. But how do you go about this? Here are a few boat canvas repair tips to
help you make sense of the process:
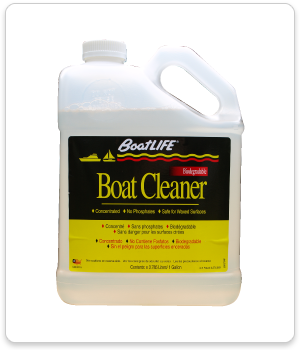
- Work with
clean, dry canvas. This ensures proper adhesion. We have a variety of
cleaners available to help, including our always-versatile Boat
Cleaner. Rinse and allow some time to dry. - Measure twice!
Measuring is vital to getting a proper patch and seal. Make sure you inspect
the area to get a full sense of the damage and measure—then measure the size of
the patch to suit it. Many experts recommend going well over this amount to
ensure a proper patching, as high as four inches over the size of the area
itself. - After
stitching on the patch, inspect the area again. Feel free to give it a “tug
test,” as it’s better to discover any weaknesses sooner rather than later.
A well-maintained canvas can help protect your boat. But
don’t rely on canvas alone. Want to ensure your boat has the proper seals and
caulks to keep it water-tight while you repair your canvas? Make sure to visit
our Caulks & Sealants
section today!

