


What’s the difference between hoping for the best and ensuring that you give yourself the best possible chance to catch a fish? Simple: a fishfinder. Yet, too many fiberglass boat owners are worried that installing a fishfinder on their boat will be too complicated for them to handle. But there’s good news: you can do it yourself. Here are the best practices for installing a fishfinder on your fiberglass boat.
Creating the Foundation for Your Fishfinder
One of the issues that gives fiberglass boat owners the most trouble is setting the foundation. For most fiberglass boats, that means installing a binnacle mount. Here are the essential steps:
- Location. Where is the best place for your fishfinder? Bring some tape measure with you so that you know exactly how much free space you need. You’ll also want to choose a location that’s easy to see from your spot at the cockpit. You’ll also need to check the back/underside of the location to make sure there’s enough room to install it. Take the time to locate the power bus and make sure you have terminals available for added electronics.
- Drill the mounting holes. Measure twice, cut once—or in this case, drill once. When drilling, you might be tempted to go slowly, but it can actually make for a smoother hole if you keep the drill at a full, confident speed.
- Wiring. You need to ensure that there are ways for the wires to access the fishfinder. Look for previously existing holes first. If there aren’t any, you may have to drill an additional hole behind the mount.
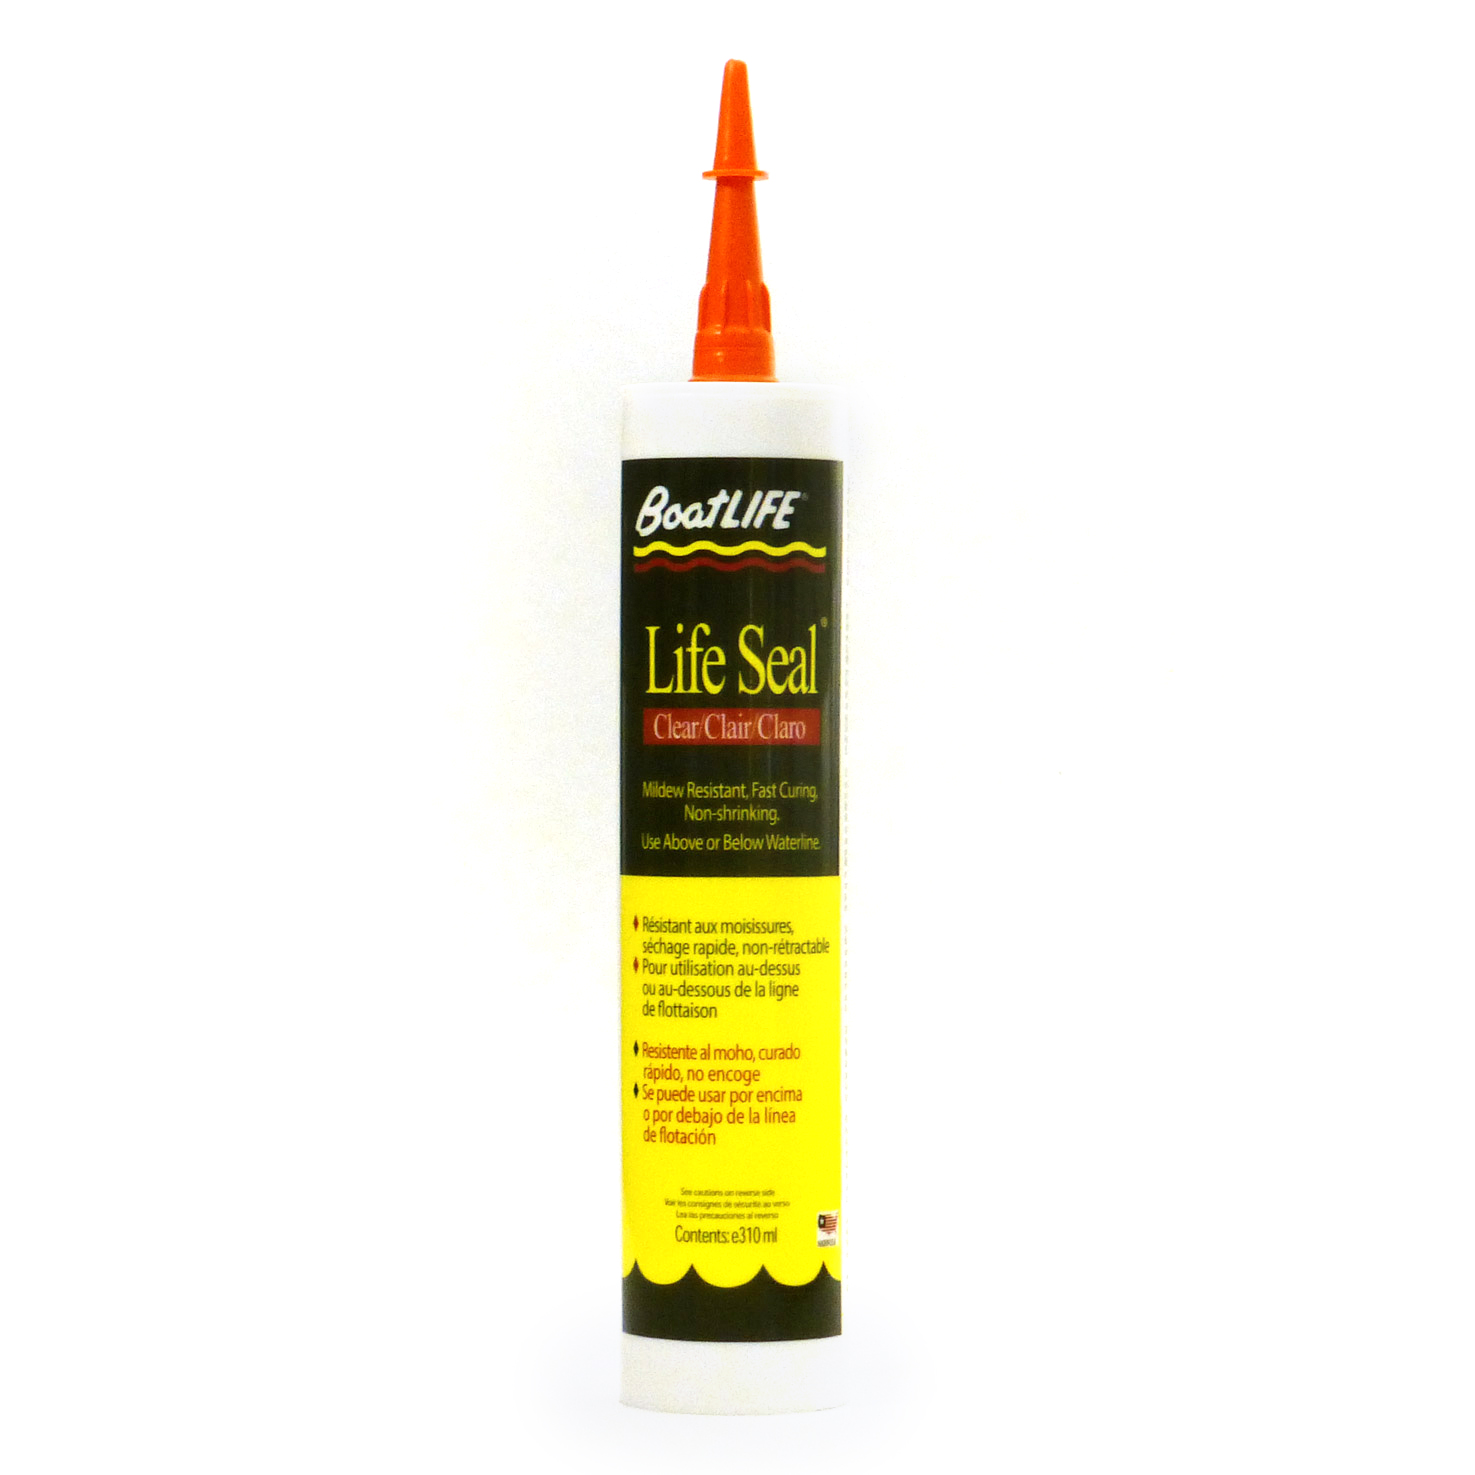
Once you have the holes in place, you can use silicone sealant to seal the holes. Install the binnacle, give each bolt a little bit of sealant, and then secure the bolts.
Give Your Fishfinder Power
Using the exit hole that you’ve already drilled through the back, feed the power leads through. There should be enough slack on the plug—but not so much that you have to make extra space for wiring. Using tie-wraps or clamps, secure the wires every one and a half feet.
There may be some extra work here, depending on how your unit works. For example, you may have to use female connectors if your fuse block has male terminals. You may also have to shorten or lengthen the wires themselves. Just make sure that you don’t cut the in-line fuse provided by the manufacturer. This could destroy your unit and invalidate its warranty.
Finishing the Installation

Next, run the wiring of the transducer to your dash. With the wiring pulled through, coil any extra line inside, making sure to secure with clamps and never to cut the wire for length, as it may affect the way your fishfinder performs. Keep the transducer wire separate from the engine’s wiring harness as well as the VHF cable.
Drill the holes where you made the markings earlier. Use an adhesive/sealant to coat the clean screws as well as the clean insides of the transom holes. You can now screw the mount in. The goal here is to create a watertight seal.
Placing the Fishfinder
Seal off the wiring hole you drilled earlier—the one behind the binnacle mount—using a clamshell vent so that it’s water-tight but still accessible. With the wiring properly pulled through in the previous step, you should be able to finish the connections and place the fishfinder into its spot!
If any step gets too complicated, make sure that you first consult the manufacturer’s or owner’s manuals. It may take a long time to fully understand what you have to do, but you’ll find that it’s well worth it when you have your fishfinder installed and working properly.
Caring For You Fiberglass Boat


We recommend that you use BoatLIFE sealants to keep your boat watertight. And while you’re working on your boat, consider treating it with Fiberglass Rubbing Compound and Life Wax.

