
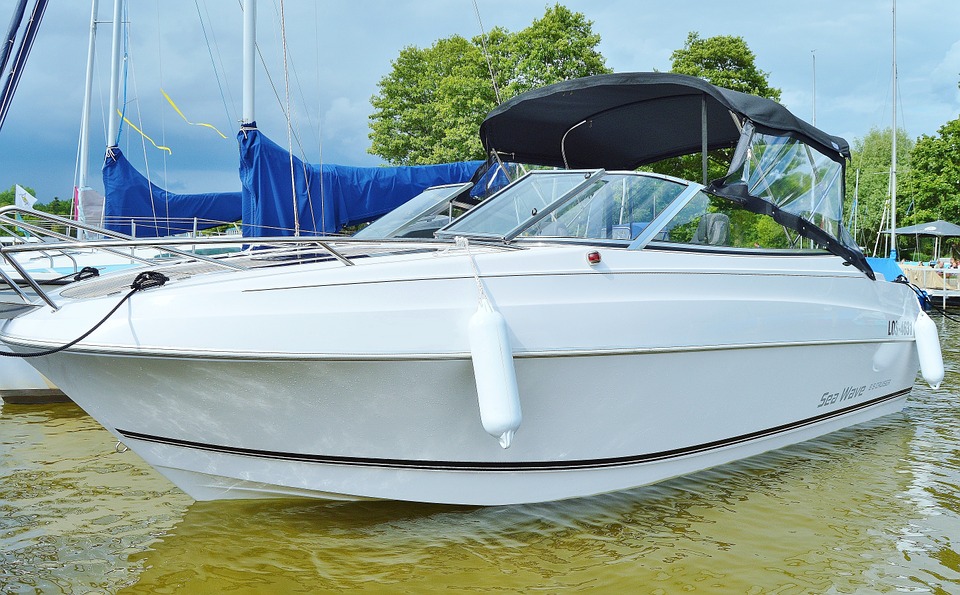

Want to apply striping to your boat? The process isn’t hard.
Here’s what you’ll need to know to apply your own striping to your boat!
Prepping Your Boat
for New Striping
Like anything you do on your boat, applying new striping
will depend on how well you prepare. Here’s what you’ll need to know:

- Find dry
space to work. Work either in a large shed with plenty of ventilation, or
outside on a clear day with little wind and, of course, no precipitation. You’ll
want plenty of room to work around the boat on all sides. - Gather
all your materials. Consider the following, depending on how you’ll be
applying the striping: a craft knife, a clean rag, and a pen/pencil that you
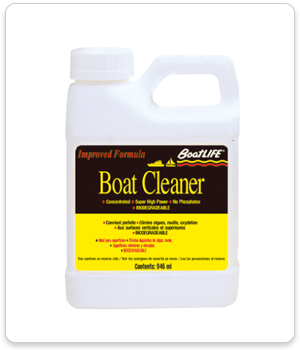
can use to mark the boat hull without damaging it. - Clean the
area of the hull where you plan to apply the striping. Make sure that you
rinse and allow the area to dry—and be sure to go over the striping area twice
to make sure that there isn’t any residue remaining. We recommend using Boat Cleaner here. - Mark the
striping area. Finally, you’ll want to plan where your striping will go.
You can do this with subtle markings on the hull, using a pencil specially
designed for use with boat hulls.
Applying Adhesive-Based
Striping to Your Boat
After marking the area of your boat that’s due for striping,
it’s now time to begin applying the striping itself. You’ll generally want to
do this one step at a time, taking care that you follow any specific
manufacturer’s instructions for this process.
When you mark your striping, you should include incremental
markings so that you can work in stages. That means you should be able to apply
some of the striping to the boat lightly at first, working with approximately
one yard at a time.
You’ll also want to avoid any “bubbling” with pockets of air
underneath the boat striping. Here are some steps to ensure that you get smooth
striping with minimal “bubbling” effect:
- Use
gentle pressure when applying at first. It’s more important to get the
stripe on the boat accurately with
your planned marks than it is to get everything on at once. You can always press
more of the striping to your boat later. - Check for
levelness. Look from the side of the boat, along the stripe, to get a sense
of just how level your striping is. Make sure that you stay approximately at
eye-level with the stripe as you apply it. - Align the
stripe with the incremental marks you made on the hull to make sure that
you get the striping on as you originally intended. - Inspect
your work at every point. If there’s still excessive bubbling, a light
application should allow you to
remove the striping at a certain point and re-apply. This is another reason you
don’t want to apply too much pressure at once. - Cinch off
any excessive striping only after the application is finished, using a
craft knife for precision.
Once your stripe is properly aligned and free of bubbles,
you can continue to add some pressure to ensure it adheres to your boat. After
this point, allow some time to go by and then feel free to clean the area.
Don’t forget to use boat-friendly
cleaning products to keep your hull in top condition!

