


Your boat is more than just an object. It’s also
representative of an outdoor lifestyle. You might want to customize your boat
to reflect your values, your taste, and maybe even your love of boating. One
problem? Custom boat lettering can be expensive. That’s why we’ve prepared this
brief DIY boat lettering guide to introduce you to the concepts to use and
pitfalls to avoid as you change the appearance of your boat.
How To Get Started
Some people see “DIY” and see an opportunity. Others see it
and think it’s going to be a lot of work. But when you simplify DIY boat
lettering down to its fundamental steps, you’ll find it’s not nearly as hard or
labor-intensive as you might have thought. Here’s what you’ll need to know:
- Work on a
clean and dry surface. To prep your boat for lettering or other graphics,
make sure it’s out of the water, clean and dry. You’ll want to clear it of
debris that can get in the way of smooth adhesion between the lettering and the
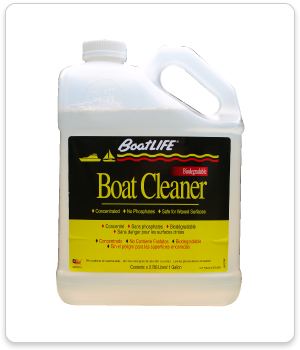
hull itself. We recommend that you use a boat-specific cleaner to be sure that
you’ve done as thorough of a job as possible when prepping the hull surface,
such as Boat Cleaner.
Don’t forget to allow time to dry! - Read your
instructions thoroughly. They’re not there for no reason. When you purchase
a boat lettering kit, they’ll usually include plenty of details as to how to
approach the process. And since each kit can be a little different depending on
the materials used, you’ll likely have a tough time finding an all-purpose
guide that explains each individual step for different products -
Consider
some accessories that may help. For example, a simple ruler (made of
plastic; you don’t want to scratch the boat hull accidentally) can help you
create a visual reference for straight edges. Painter’s tape can also help you
clear out an area and get a visual sense for how your lettering will look. - We also
recommend Release
Adhesive & Sealant Remover for effectively removing old
lettering or anything that might get in the way. If you’ve done this before
and weren’t happy with the results, Release
can help you clean out the area without any spots left over from the previous
adhesives.
Getting the Most from
Your Lettering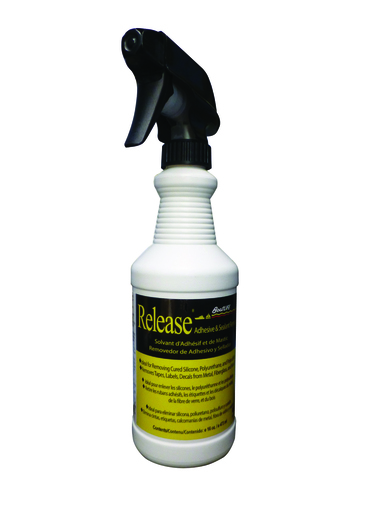
Once you’ve committed to each of the tips above, you’re
ready to get out your kit and begin. Try to think of our boat lettering guide like a recipe. You’ll
want to follow the instructions as closely as possible if you’re going to end
up with a positive result. You should also take some time to consider the area
you want to decorate with lettering. Look at it from multiple angles to get a
sense of how it will look before you ever commit to the process.
Want more accessories that will help you make the most of
your boat? Then keep browsing the boat products available here at BoatLIFE.

