


No sailboat should be without a quality gelcoat to maintain
the durability and sheen of its fiberglass. But not every sailboat has the
advantage of going through its journey completely scratch-free. That’s why
we’ve put together a quick sailboat gelcoat repair guide. We hope these tips
will help you understand how to handle a problem with your sailboat’s gelcoat
and give you a few insights into handling the entire hull as well.
Start With The Right
Materials
If you want your sailboat to look its best, you’ll have to
keep the right materials handy. Anyone with a sailboat knows that proper
ingredients can be the difference between an attractive sailboat and one that’s
in need of dedicated work.
Here are a few materials you’ll want to keep handy if you
want to maintain your sailboat’s gelcoat:
- Equipment:
Latex gloves, dust mask, rags for cleaning up, a putty knife, stir sticks,
mixing cups, masking tape, a hand-held grinder with bits, wet and dry
sandpaper. - Gelcoat
repair materials: Think coloring agents, acetone, gelcoat resin (and its
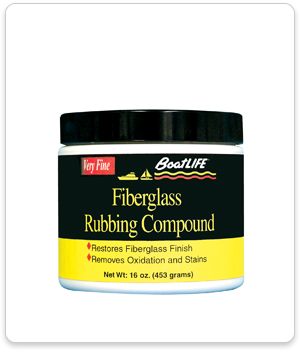
catalyst), PVA curing agents. - Long-term
gelcoat maintenance: Think about investing in a great Fiberglass
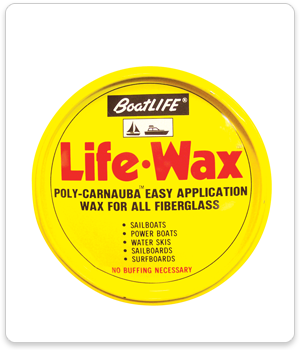
Rubbing Compound—and don’t forget to stock up on boat wax, either. We
recommend using Life Wax to help prevent
UV damage to your hull.
It sounds like a lot, but most of these materials are
relatively inexpensive to procure—and the difference they can make in the
quality of your gelcoat is immeasurable.
Prepare the Gelcoat
Repair Area
To begin your sailboat gelcoat repair, the first step is to
prepare the area. Think of this as “priming” your gelcoat. BoatingMag.com
recommends filling in “deep gouges with resin and filler before
applying finish.” If your gelcoat’s problems are this deep, you’ll have to use
epoxy resin and fillers to give yourself something to work with before
starting.
You should also work on color matching. Consult your dealer
to see if they can offer you a precise matching gelcoat—if not, you may have to
“wing” it, doing your best to get a match by eyeballing the difference.
Once you have that in place, smooth out the edges of the
damaged area and get rid of any debris or loose gelcoat. This is where you may
have to use the acetone to get rid of old sealant and clean the affected area
first. Then, once you have it clean and dry, use the masking tape to seal off
the area—make sure that you use painter’s tape here. Be precise. You only want
to work on the damaged area specifically.
Applying the Gelcoat
Repairs
Once you have those in place, you’re free to mix your
color-matched gelcoat, adding the proper catalyst to harden the gelcoat. You’ll
mix these both with specific stir sticks—and make sure you pay attention to the
cure time listed on this gelcoat.
Now’s the time to apply before the gelcoat hardens. Apply it
as evenly as possible, keeping in mind that you may have to work quickly before
it hardens completely. If you spray with a PVA, wait for it to cure and then
peel it off before sanding. You may also simply peel it off and apply the wax
if the surface is smooth enough not to require sanding.
It might sound difficult and complicated, but when you
properly repair your sailboat’s gelcoat, your reward will be a smooth hull
that’s ready to sail again. Of course, it helps to have the right products in
your corner, so keep browsing our BoatLIFE products to find
the right materials for your boat’s repair today.

