


Want your boat to look new? Most of that “like-new” look depends on the gelcoat. That means you’re going to need to take care of it. To do that, you’ll need a great routine for cleaning and waxing your boat, and you need to understand what to do if some of your gelcoat chips off. The good news is that it doesn’t have to be difficult. Here’s a quick guide to teach you how to repair gelcoat chips.
Why You Should Care About Your Gelcoat
The quality of your boat’s appearance is largely the result of its fiberglass. If the fiberglass gelcoat is damaged, dinged or chipped, it’s going to throw off the entire smooth exterior. Left unchecked, these issues can even spread to surrounding areas. It may not seem like it now, but the best way to ensure a quality appearance for your boat is to repair gelcoat chips as soon as possible.
Keep in mind that the gelcoat is the first line of defense between your boat and the marine environment. It’s essentially the boat’s “skin.” If you don’t take care of it, it will affect the entire appearance and even performance of your boat.
Gelcoat Chip Repair Guide
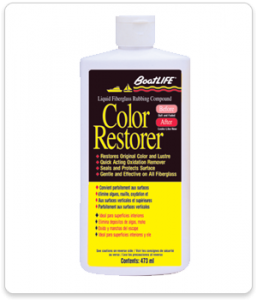 Keep in mind that if you have light damage, such as chalking or fading, you can easily use a bottle of Color Restorer without going through these steps. But if your fiberglass damage is more serious, it’s important not to skip them.
Find The Right Color
Your gelcoat has a specific color, so it begins with matching your repairs to that color. According to Boating Magazine, you’ll need to be careful here, as the rest of your original gelcoat color may have faded with time. That’s why it can be a bit of a chore to find the right match—and why it’s so important to take steps to prevent this UV fading over time.
Clean Edges Of Chip
Your next steps will be to clean up the edges of the damaged area using a rotary grinder. Feel free to scrape away other debris here, including old sealant, so that you can apply a smooth, consistent layer of gelcoat later. It’s better to do this work sooner rather than later—and it’s especially important to handle all of the repairs at once, while you have the equipment ready and the boat out of the water.
Apply The Gelcoat
Tape off the area and mix the gelcoat. Then, once you’re sure you have a thoroughly mixed gelcoat ready for application, put it on. The tape will ensure that you aren’t adding more gelcoat to surrounding areas. After mixing, you’ll have a window of about 10 or 15 minutes with which to work. When you’re done, spray it with a PVA curing agent.
Final Steps & Post-Repair Wax
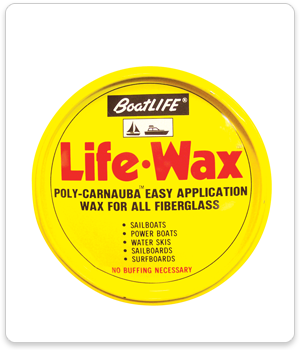 Now you have the option to sand it down and peeling off the PVA to apply the wax. BoatLIFE offers a number of high quality boat waxing products to ensure a properly-protected gelcoat for years to come. Use these wax products to prevent future repairs and keep your boat looking its best.

