


Outside of the hull, there may be no better place on your boat to have a firm and confident seal than on the boat hatch. Separating one area from another is the name of the game here—and if you don’t have it properly sealed down, it could lead to all sorts of problems. The good news is that boat hatch gasket replacement doesn’t have to be a pain in the rear—not if you have the right tips and tools at your disposal. Here at BoatLIFE, we’ve got you covered with both.
Measure Twice, Seal Once
The old adage in DIY work is “measure twice, cut once.” The same logic applies to a proper seal. Boating Magazine recommends taking your time as you measure the hatch. Take care to figure out which part of your boat hatch will actually be hosting the gasket and seal here. If you have a strange and unique hatch, it’s possible you may have to do some research and matching. Taking your time might seem like it’s only prolonging the process, but it could save you a few trips to the hardware store down the line.
Clean The Surface
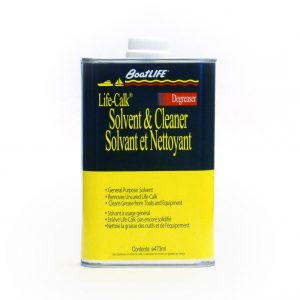 Once you’ve measured everything you need to measure, it’s time to clean out the surface. That means stripping away the old materials and using solvents and removers to get rid of any residue that might get in the way of a proper seal. This can be a little time-intensive, but it’s not labor-intensive. You may simply have to wait as the solvent does its job. While you wait, you can prepare for the next steps in the boat hatch gasket replacement process.
Seat Your Gasket
Once the area is clear, clean, and dry, it’s time to seat the gasket. This is the step in the process that should go much more smoothly provided you were thorough with your measurements and matching earlier on. Be careful here to really apply the gasket well. It’s a good idea to take your time. After all, it’s your seal we’re talking about here. You get to decide how snug the fit is. To truly weather-proof your boat, the proper-fitting seal will be the difference between professional and amateur work.
Ensure A Proper Seal
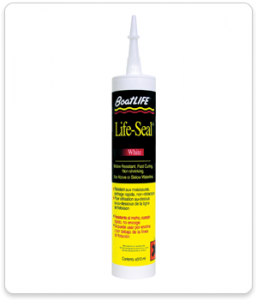 Once you’ve seated the gasket, you may need to apply some adhesives to ensure everything will stay in place. Browse through our boat sealants to match the right materials. You’ll find plenty adhesives that work well with rubber gaskets.
After everything has cured and dried, give your new seal a try. Inspect it for leaks and make sure that nothing is getting through. After that, you’ll have a clear, sealed hatch as your reward. Now that you know the proper steps for boat hatch gasket replacement, there’s nothing to it—especially if you have a little help from the materials at BoatLIFE.

