


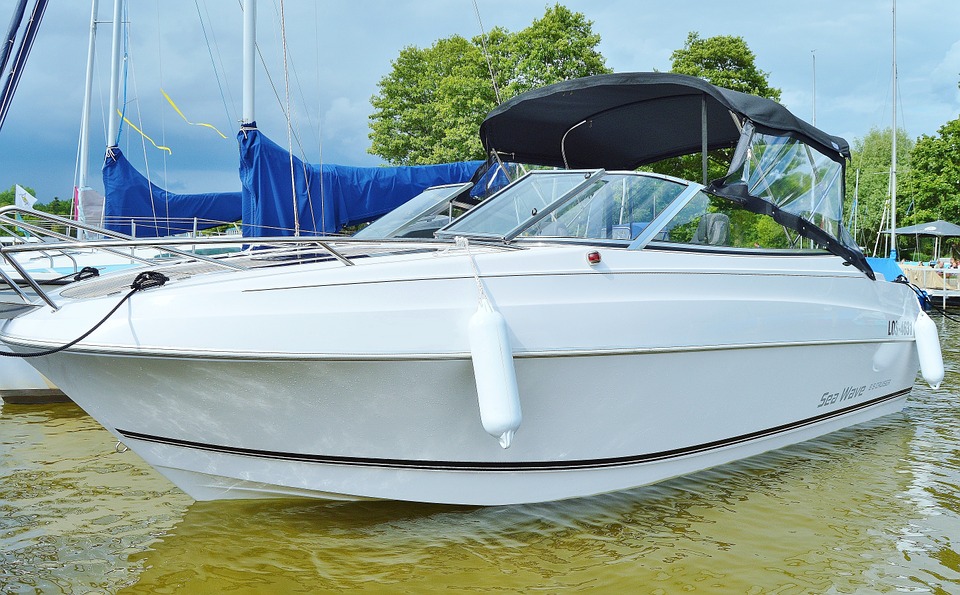
Your boat might look 99 percent perfect. But no matter how much you wax it and clean it, there might be something about its appearance in the water that just seems—for lack of a better word—“off.” For many boat owners, the final step is simple: a boot stripe. A boot stripe accomplishes more than just adding a dash of color to your boat. This narrow stripe spanning the entire length of your boat will give it a “finished,” well-rounded look. Adding a boot stripe to your boat is easier than you think. Just use this simple guide!
Painting a Boot Stripe or Adding Vinyl Striping
Before you even think about how the boot stripe will look, you have to make a decision. Are you going to paint the stripe on, or will you add a pre-made vinyl stripe with adhesive?
For beginners, the vinyl striping will be a little easier and contain fewer steps. It’s true that painting on a boot stripe will give you some more control over its ultimate appearance, but there are plenty of vinyl boot stripes out there that should suit most aesthetic needs just fine. For the remaining steps here, we’ll assume you’re attaching a vinyl stripe that’s backed with adhesives.
Prepping Your Boat
 Before you get started, you’ll want to check each of these items off your list:
- Choose the color of your boot stripe.
- Find your boat’s waterline. Your boot stripe is intended to go just above this line.
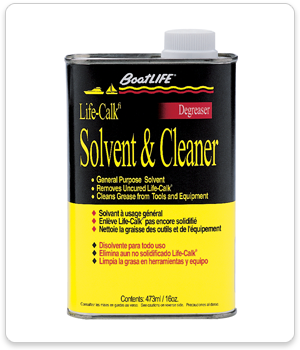
- Clean, rinse, and dry the boat hull before working to ensure you get a proper adhesion. You should also apply a boat-friendly solvent to ensure that a wax coat is done away with, allowing the adhesive to stick directly to the hull.
From here, you’ll want to get to the next step: planning the actual location of the tape. Apply something easy to remove, such as painter’s tape, of equal width to your vinyl stripe. You can then apply a strip of painter’s tape on either side and remove the center stripe to give you a basic outline of where your vinyl will go.
Applying the Vinyl Adhesive
It’s tempting to work in small pieces when adding a boot stripe to your boat, but you’ll get a smoother appearance out of your vinyl if you peel it off as much as 4 feet at a time. You can then grip it well, even stretching it a little bit, to ensure that the vinyl stripe looks smooth on the exterior.
After you’ve finished, you can make adjustments carefully using a small blade—or simply let the vinyl adhesive set.
Use the Right Products
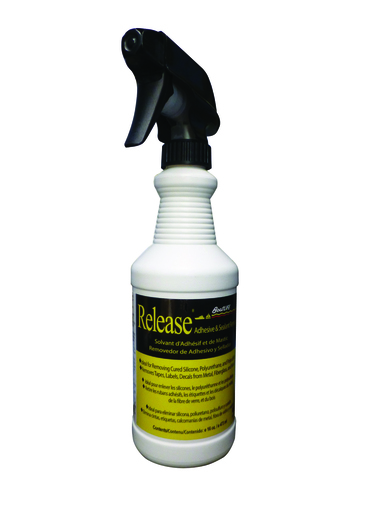 Need help along the way? Use specialized BoatLIFE products like Release Adhesive and Sealant Remover to remove any old adhesive before applying your vinyl stripe. We have plenty of Boat Cleaners as well to help ensure that, once dry, your boat hull and vinyl adhesive will stick tightly together, giving you a boot stripe that will endure for years!

